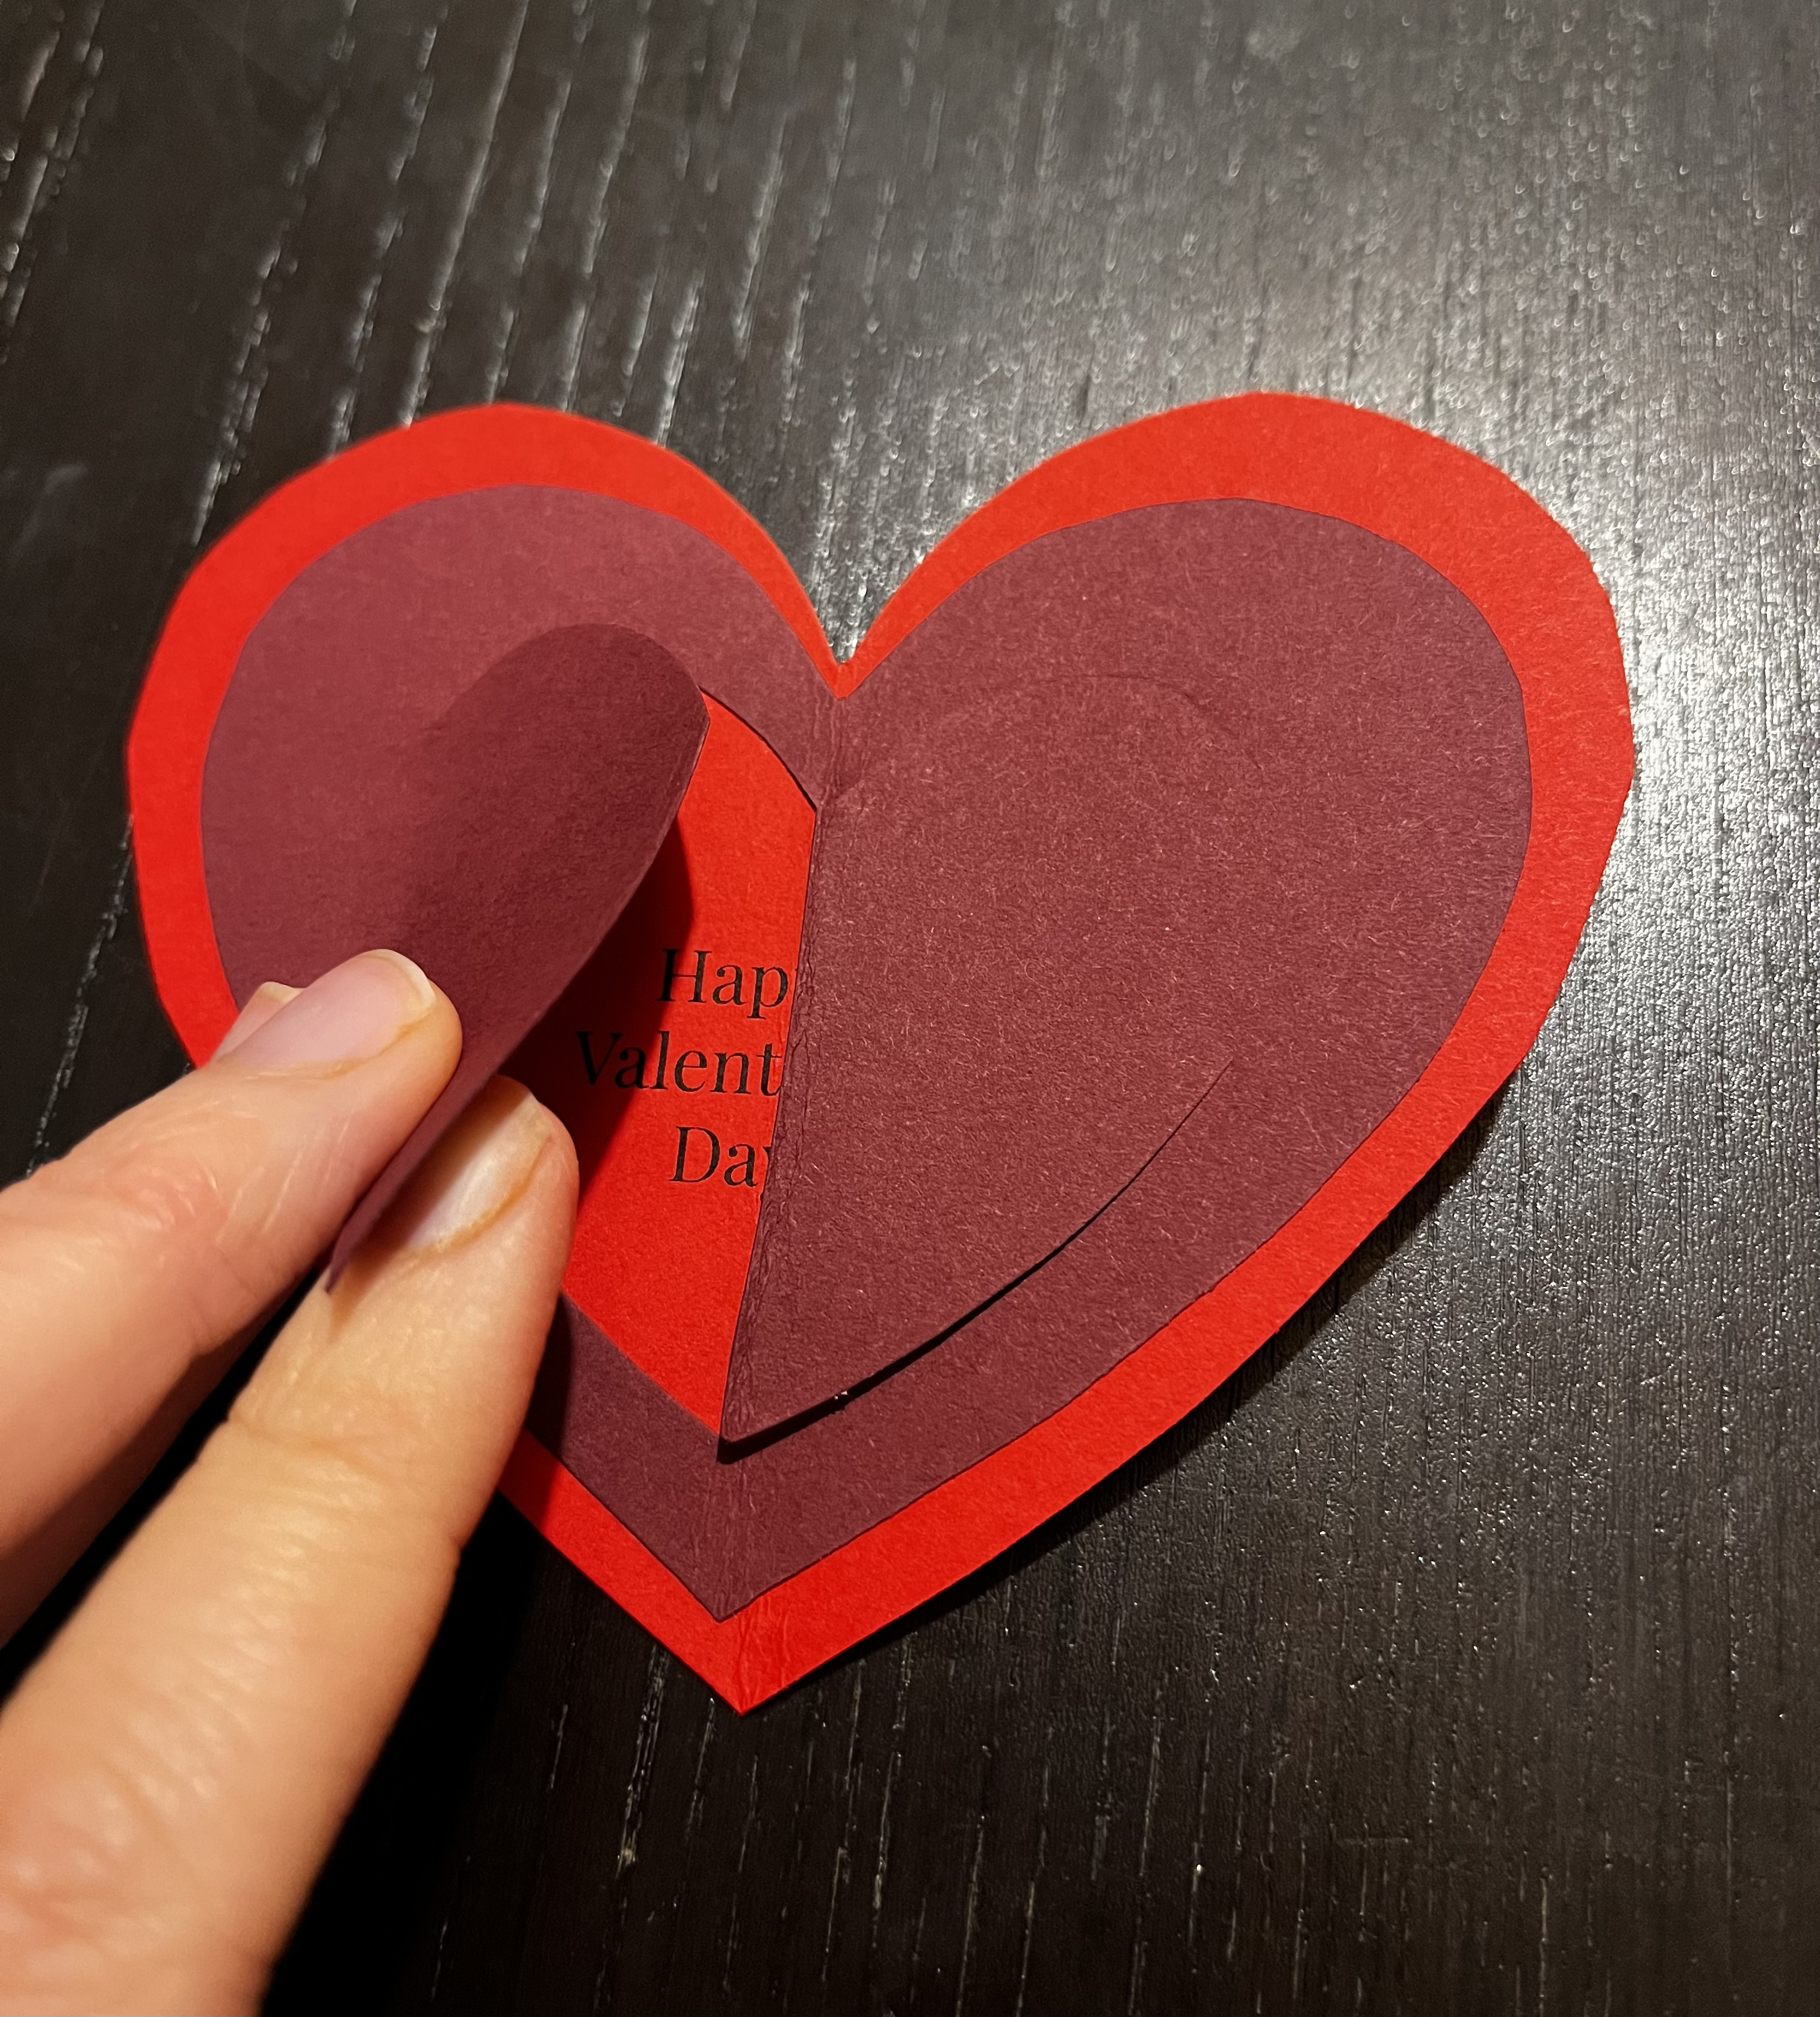
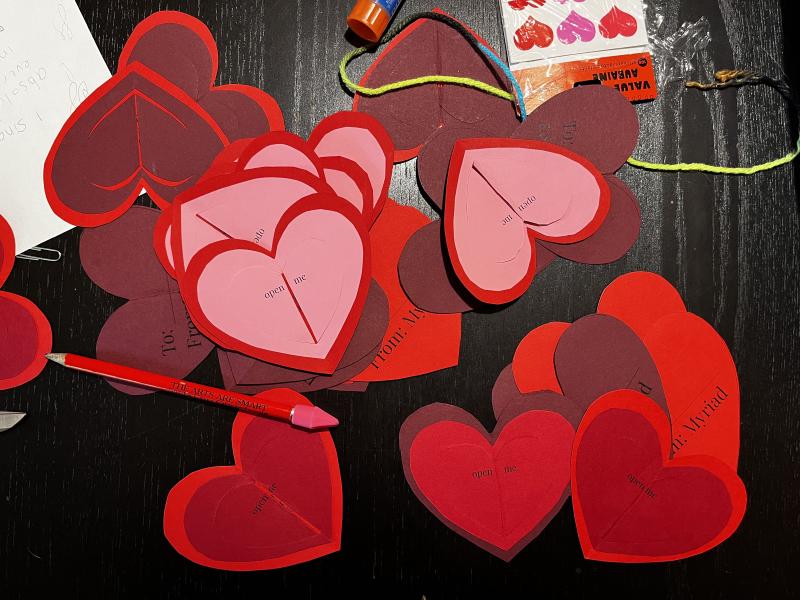
I just wanted to capture this little creative arc I went on with my 2nd grade daughter over the weekend!
Inspiration
My daughter found a little card with a flap in the woods last week and wanted to base her valentines cards off that design. I asked her to make a prototype based off this object because I never got to see it, and this is what she made:

Prototyping
We talked about how maybe it should be heart shaped, and I proposed this heart shape with each side being its own flap or door.
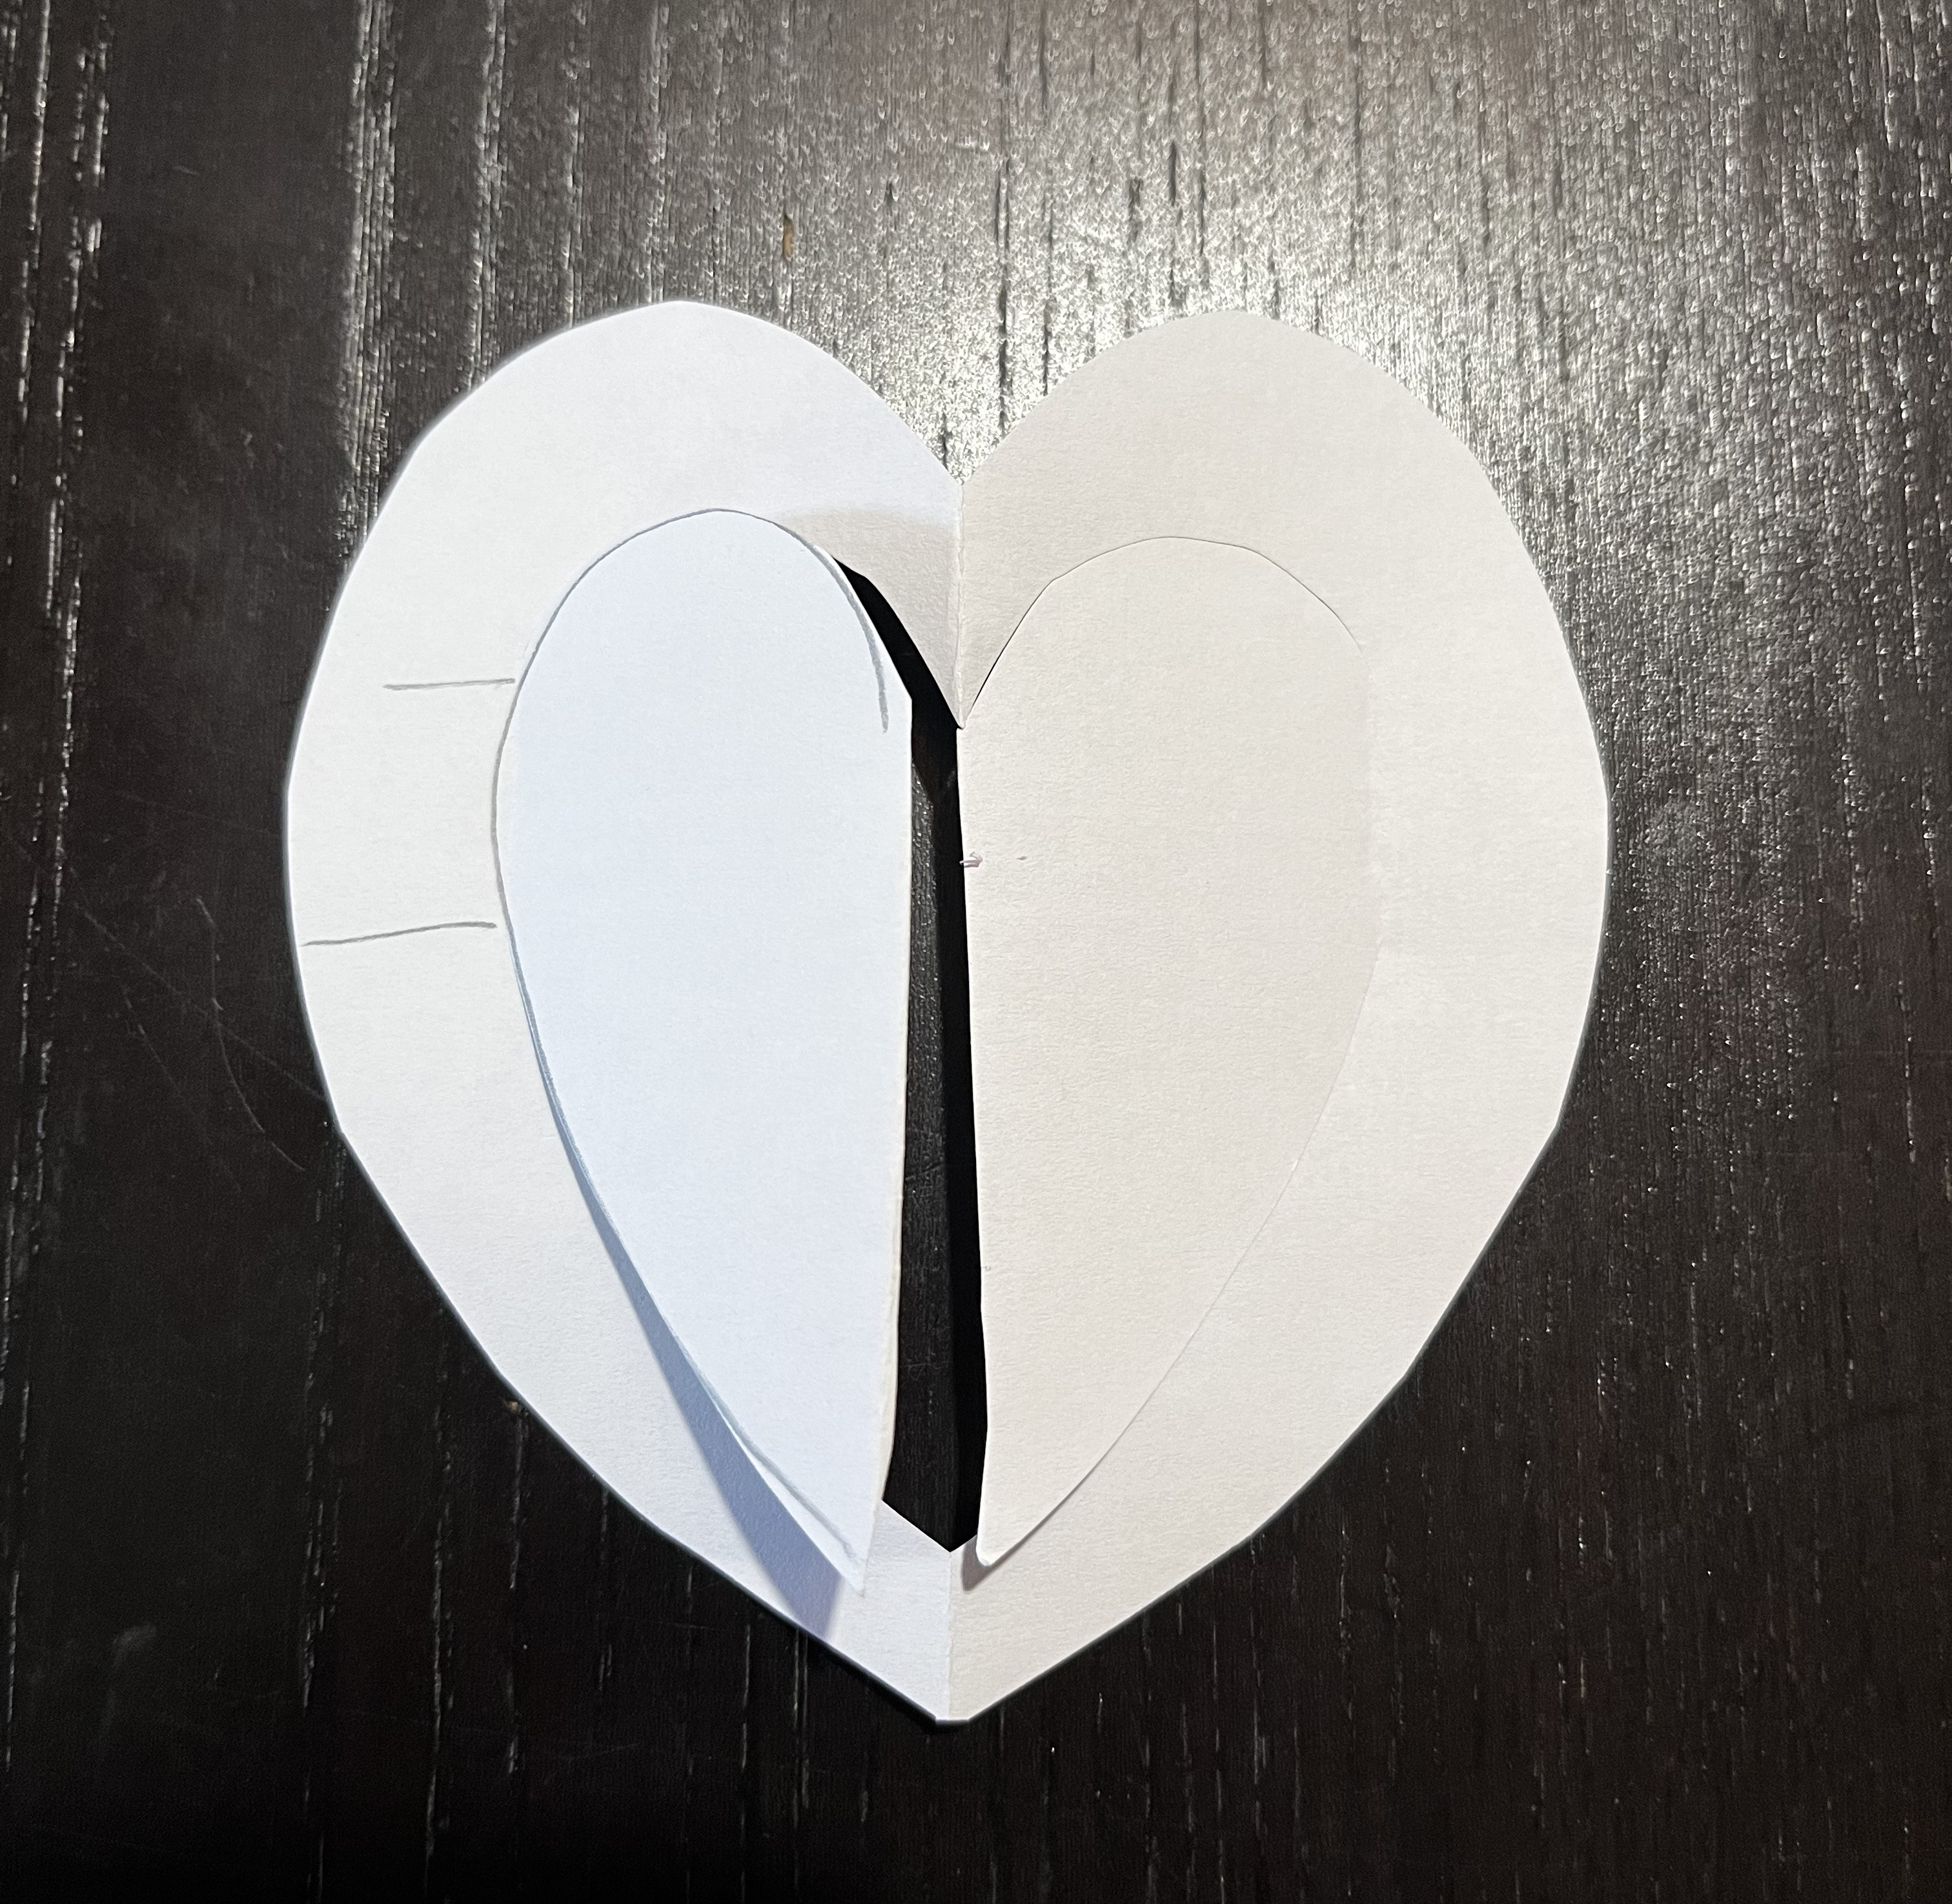
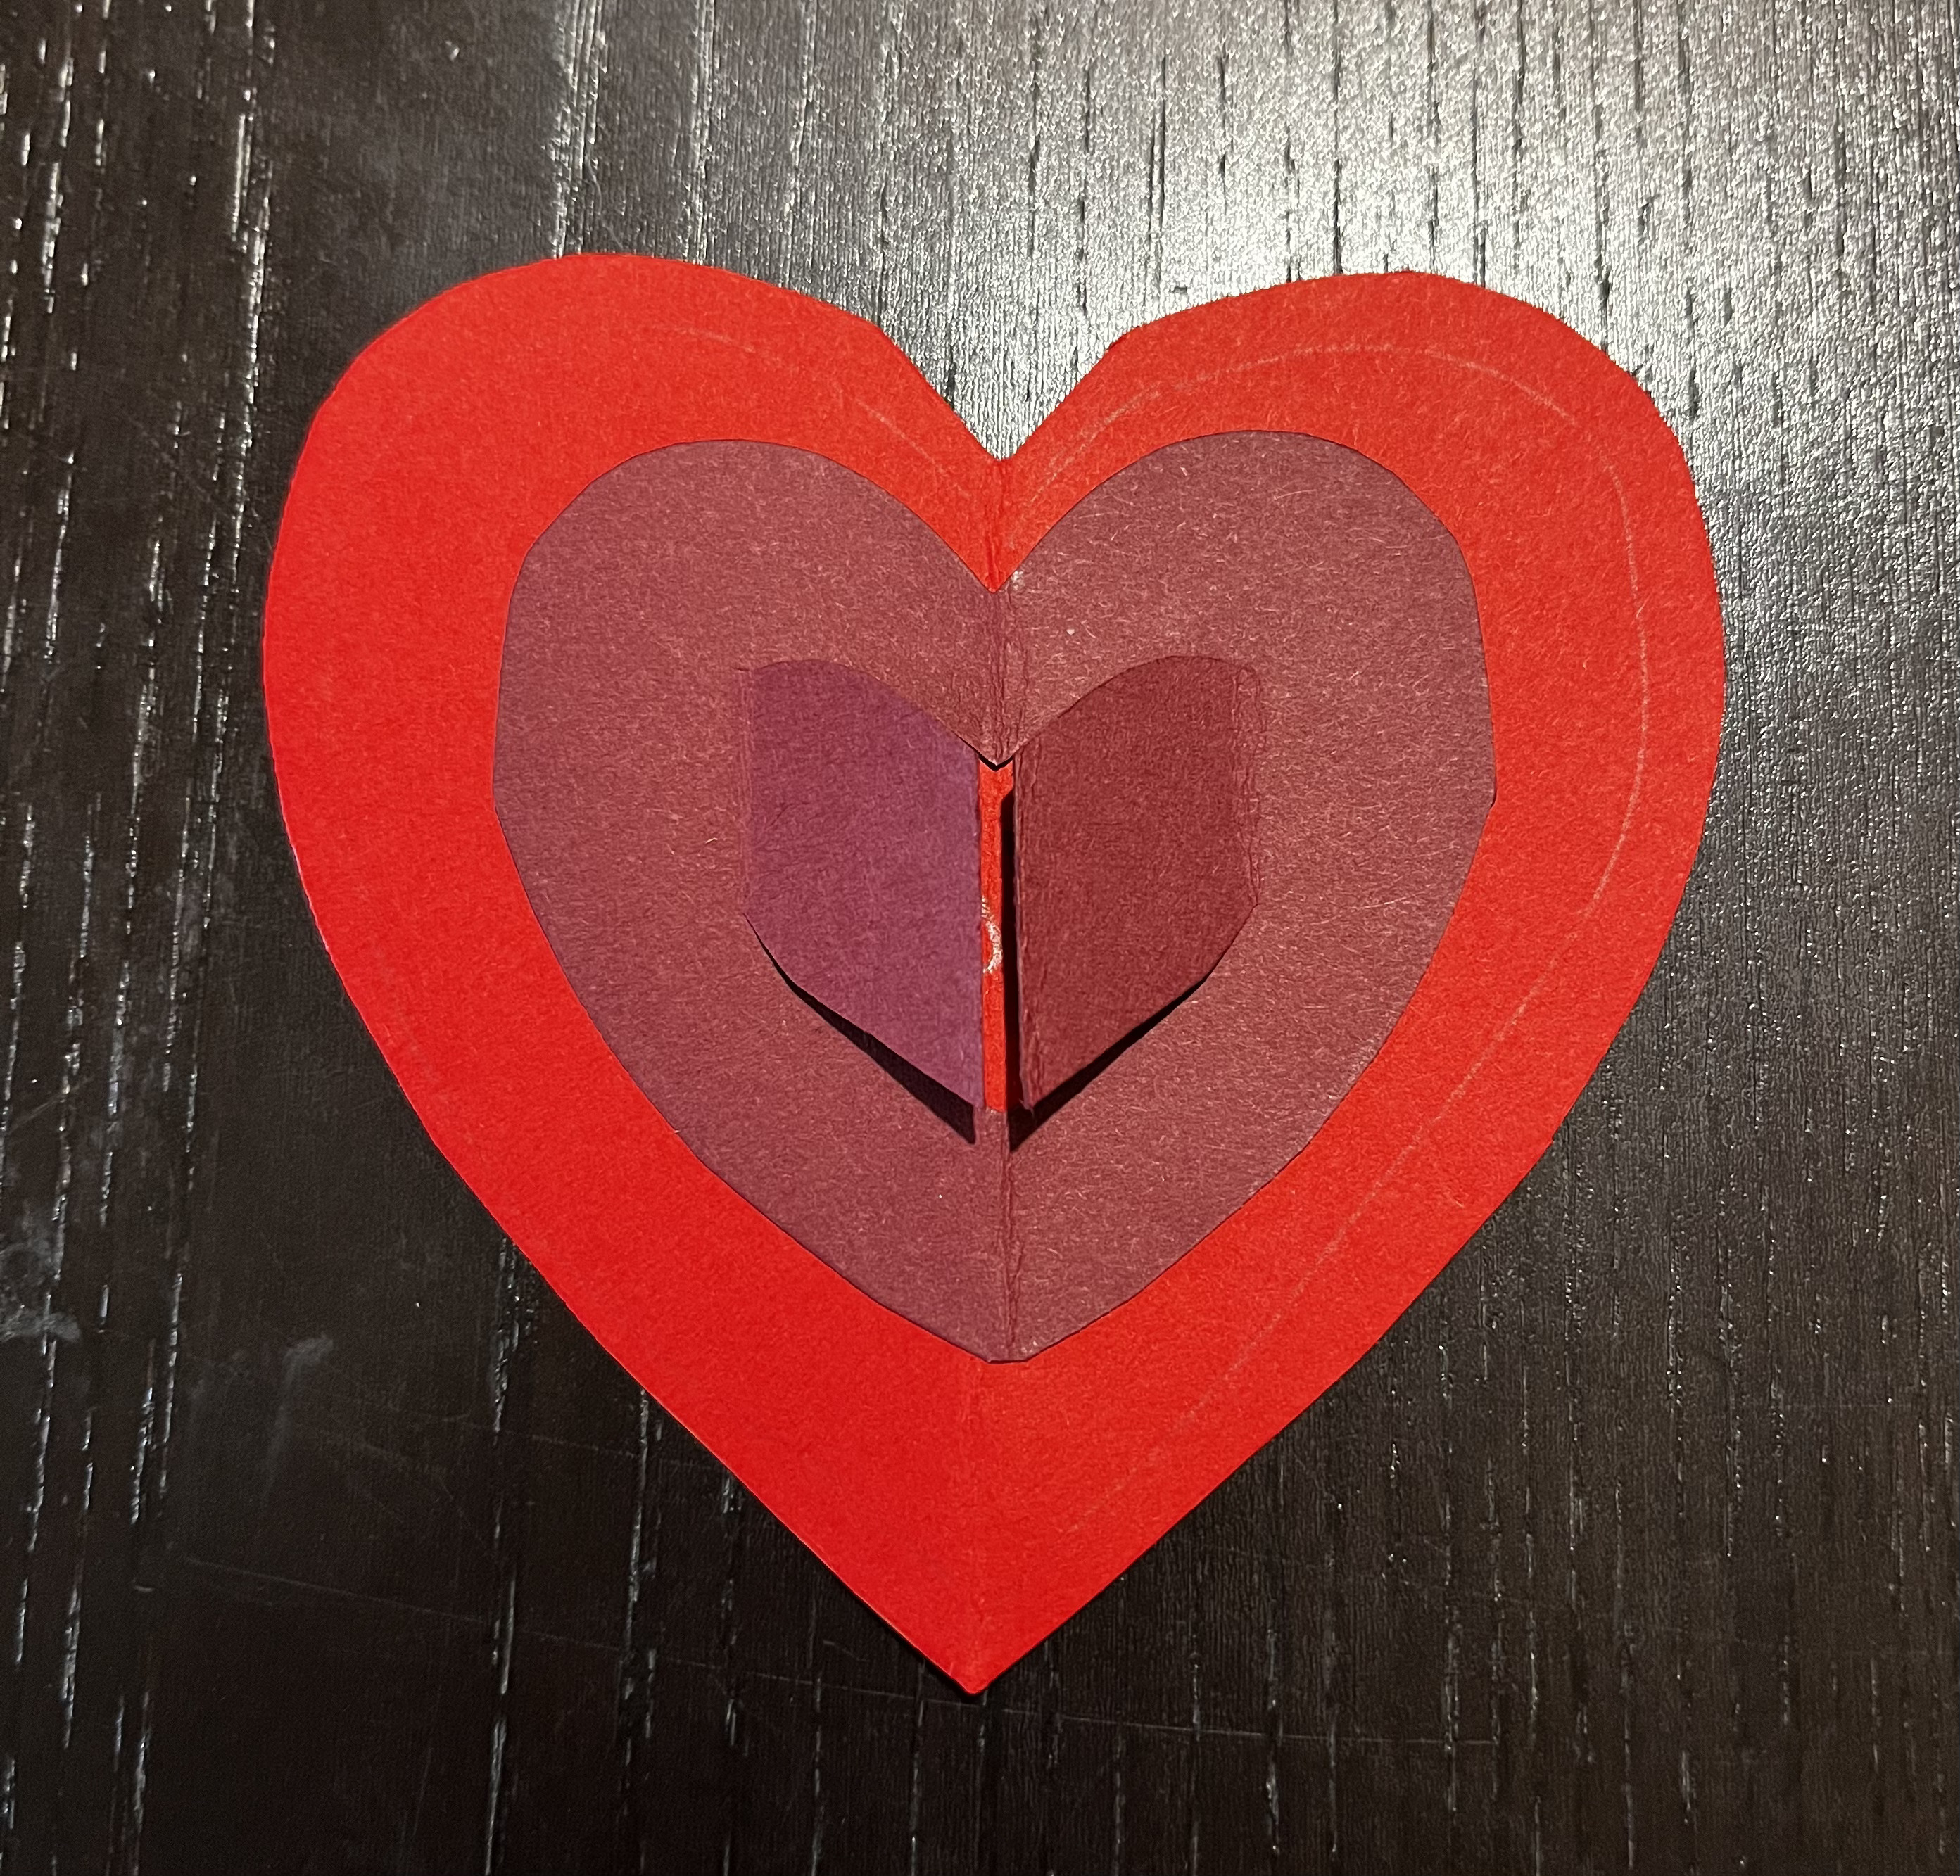
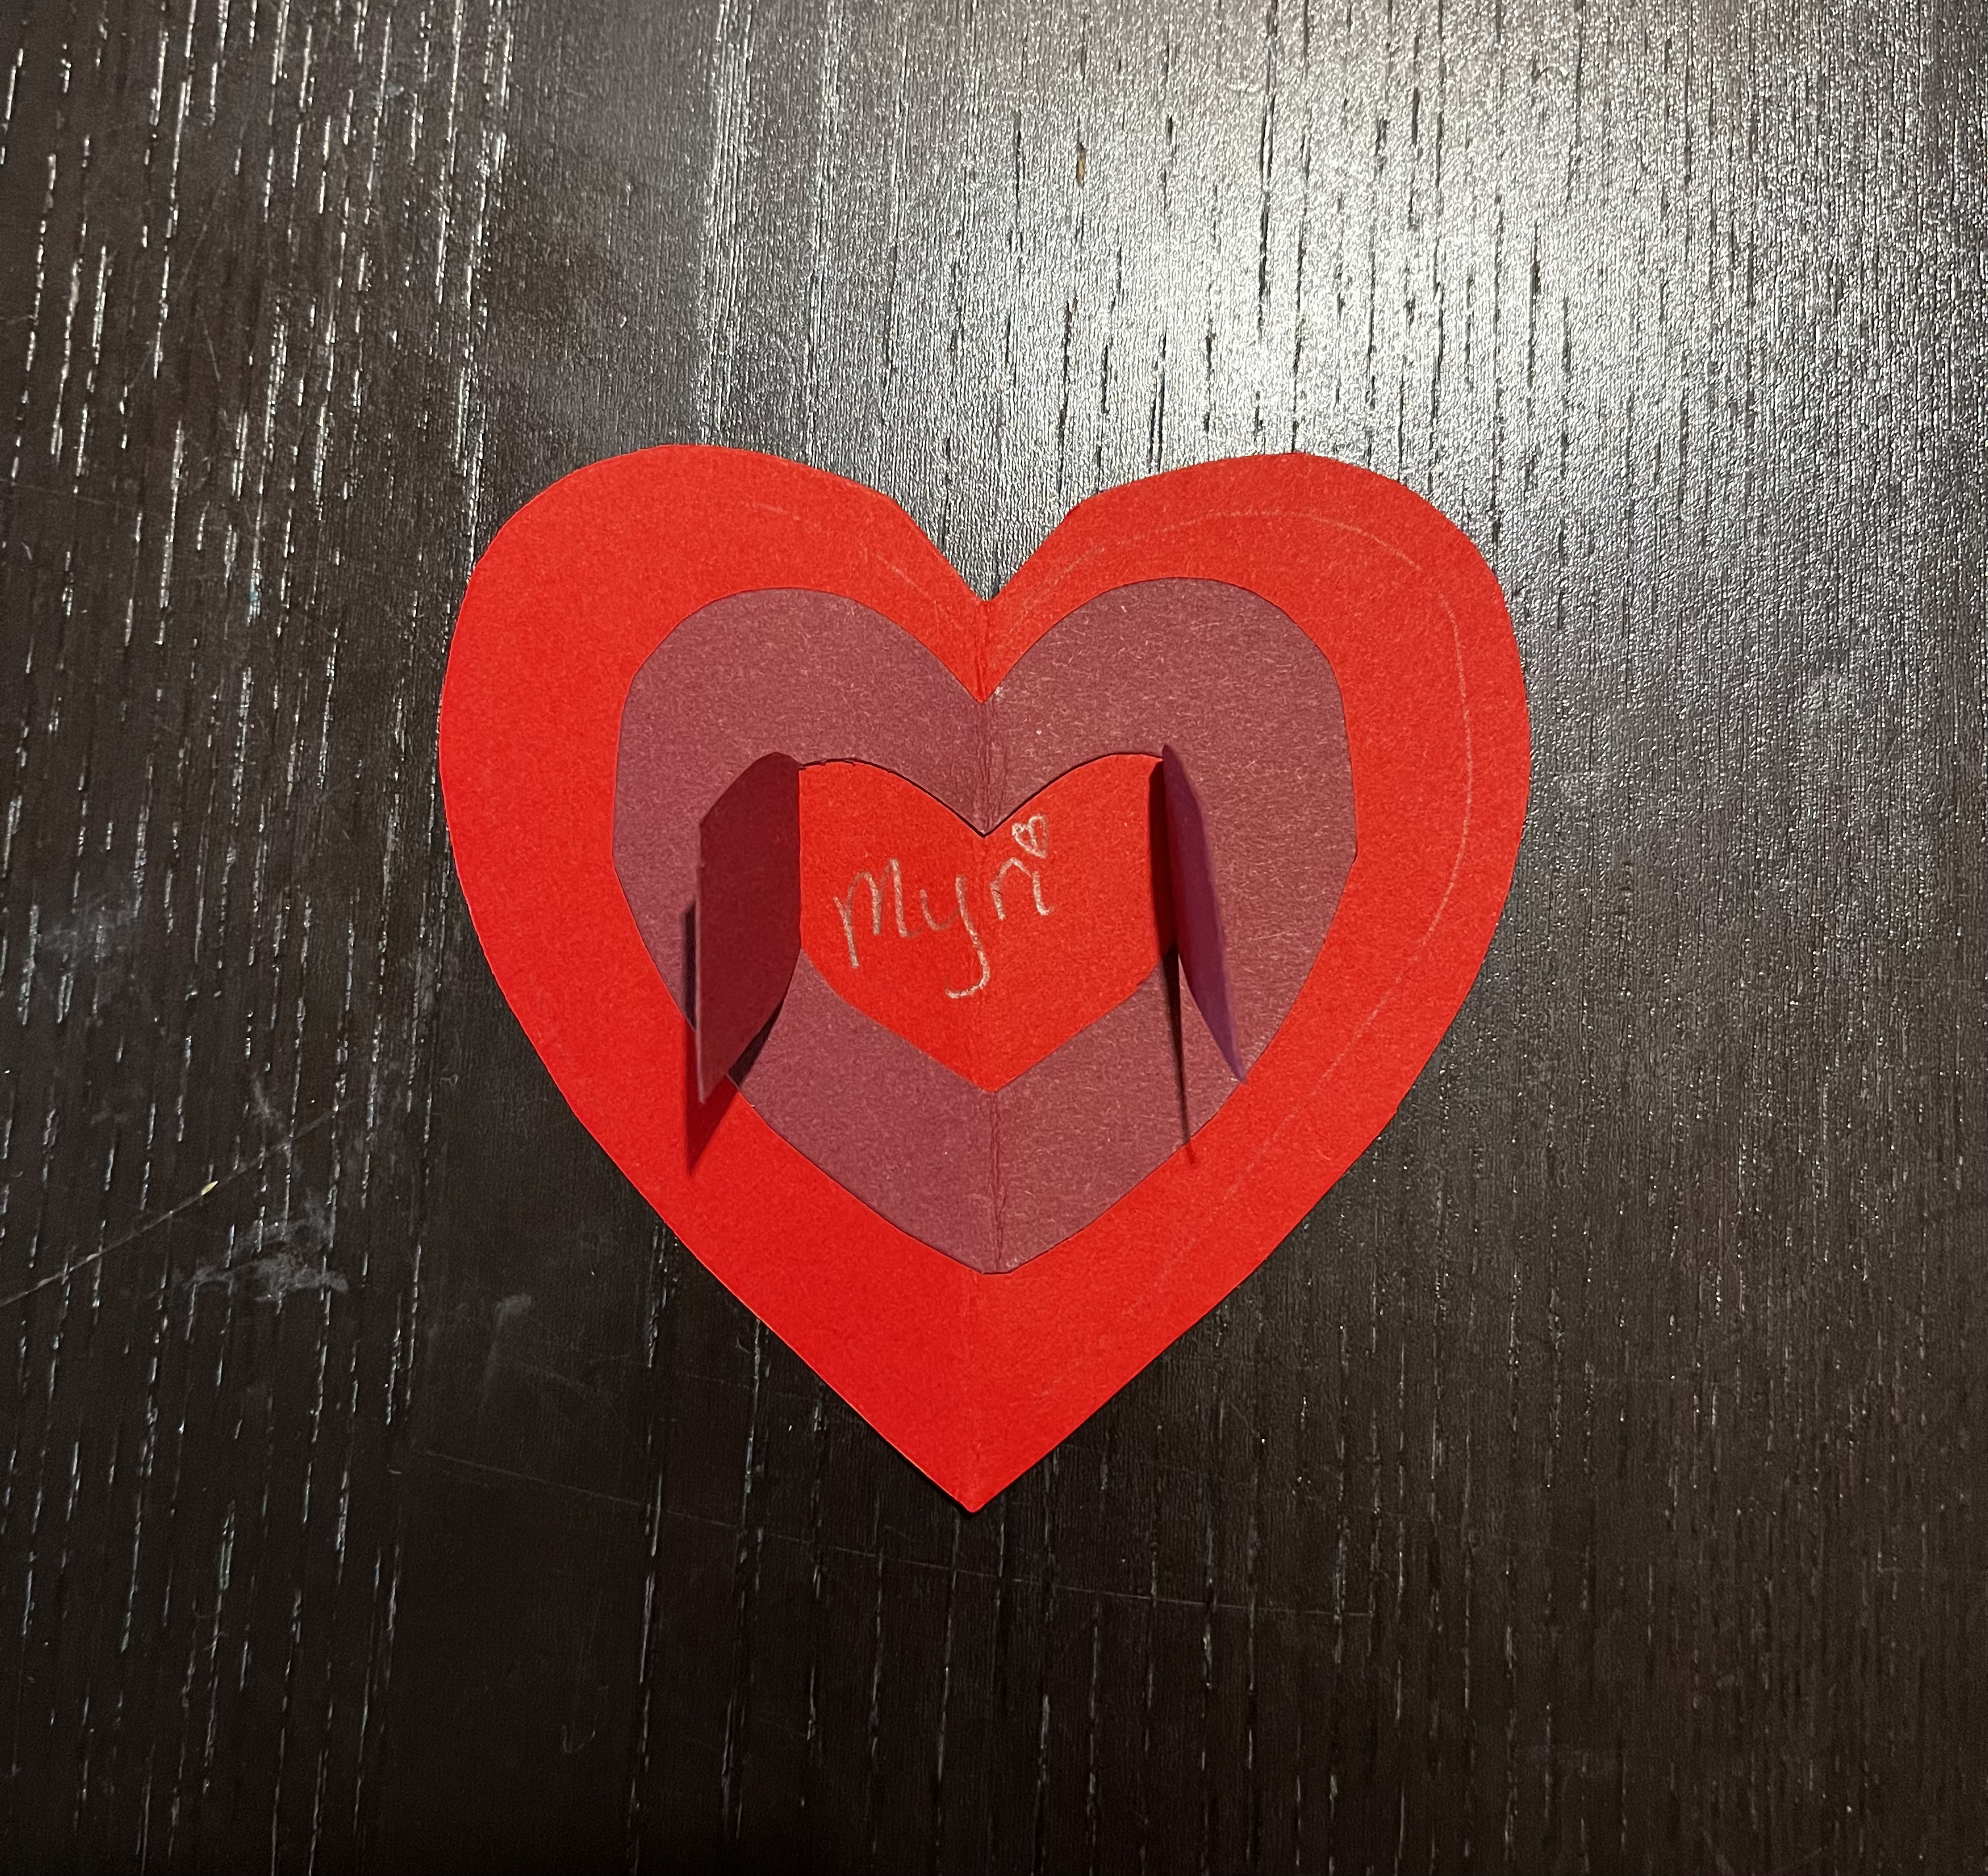
At this point, this seemed like a cute and workable design, and the next question was how to make a lot of them without too much effort. It needed to be something my daughter could do herself, but that a grownup could also get involved with to speed things up.
Designing on the computer
My daughter is starting to use more computer programs to create things. She is able to autonomously use google docs to type letters to fairies and print them out. Last weekend, she used a spreadsheet for the first time. This was the weekend of introducing google slides for graphic design purposes.
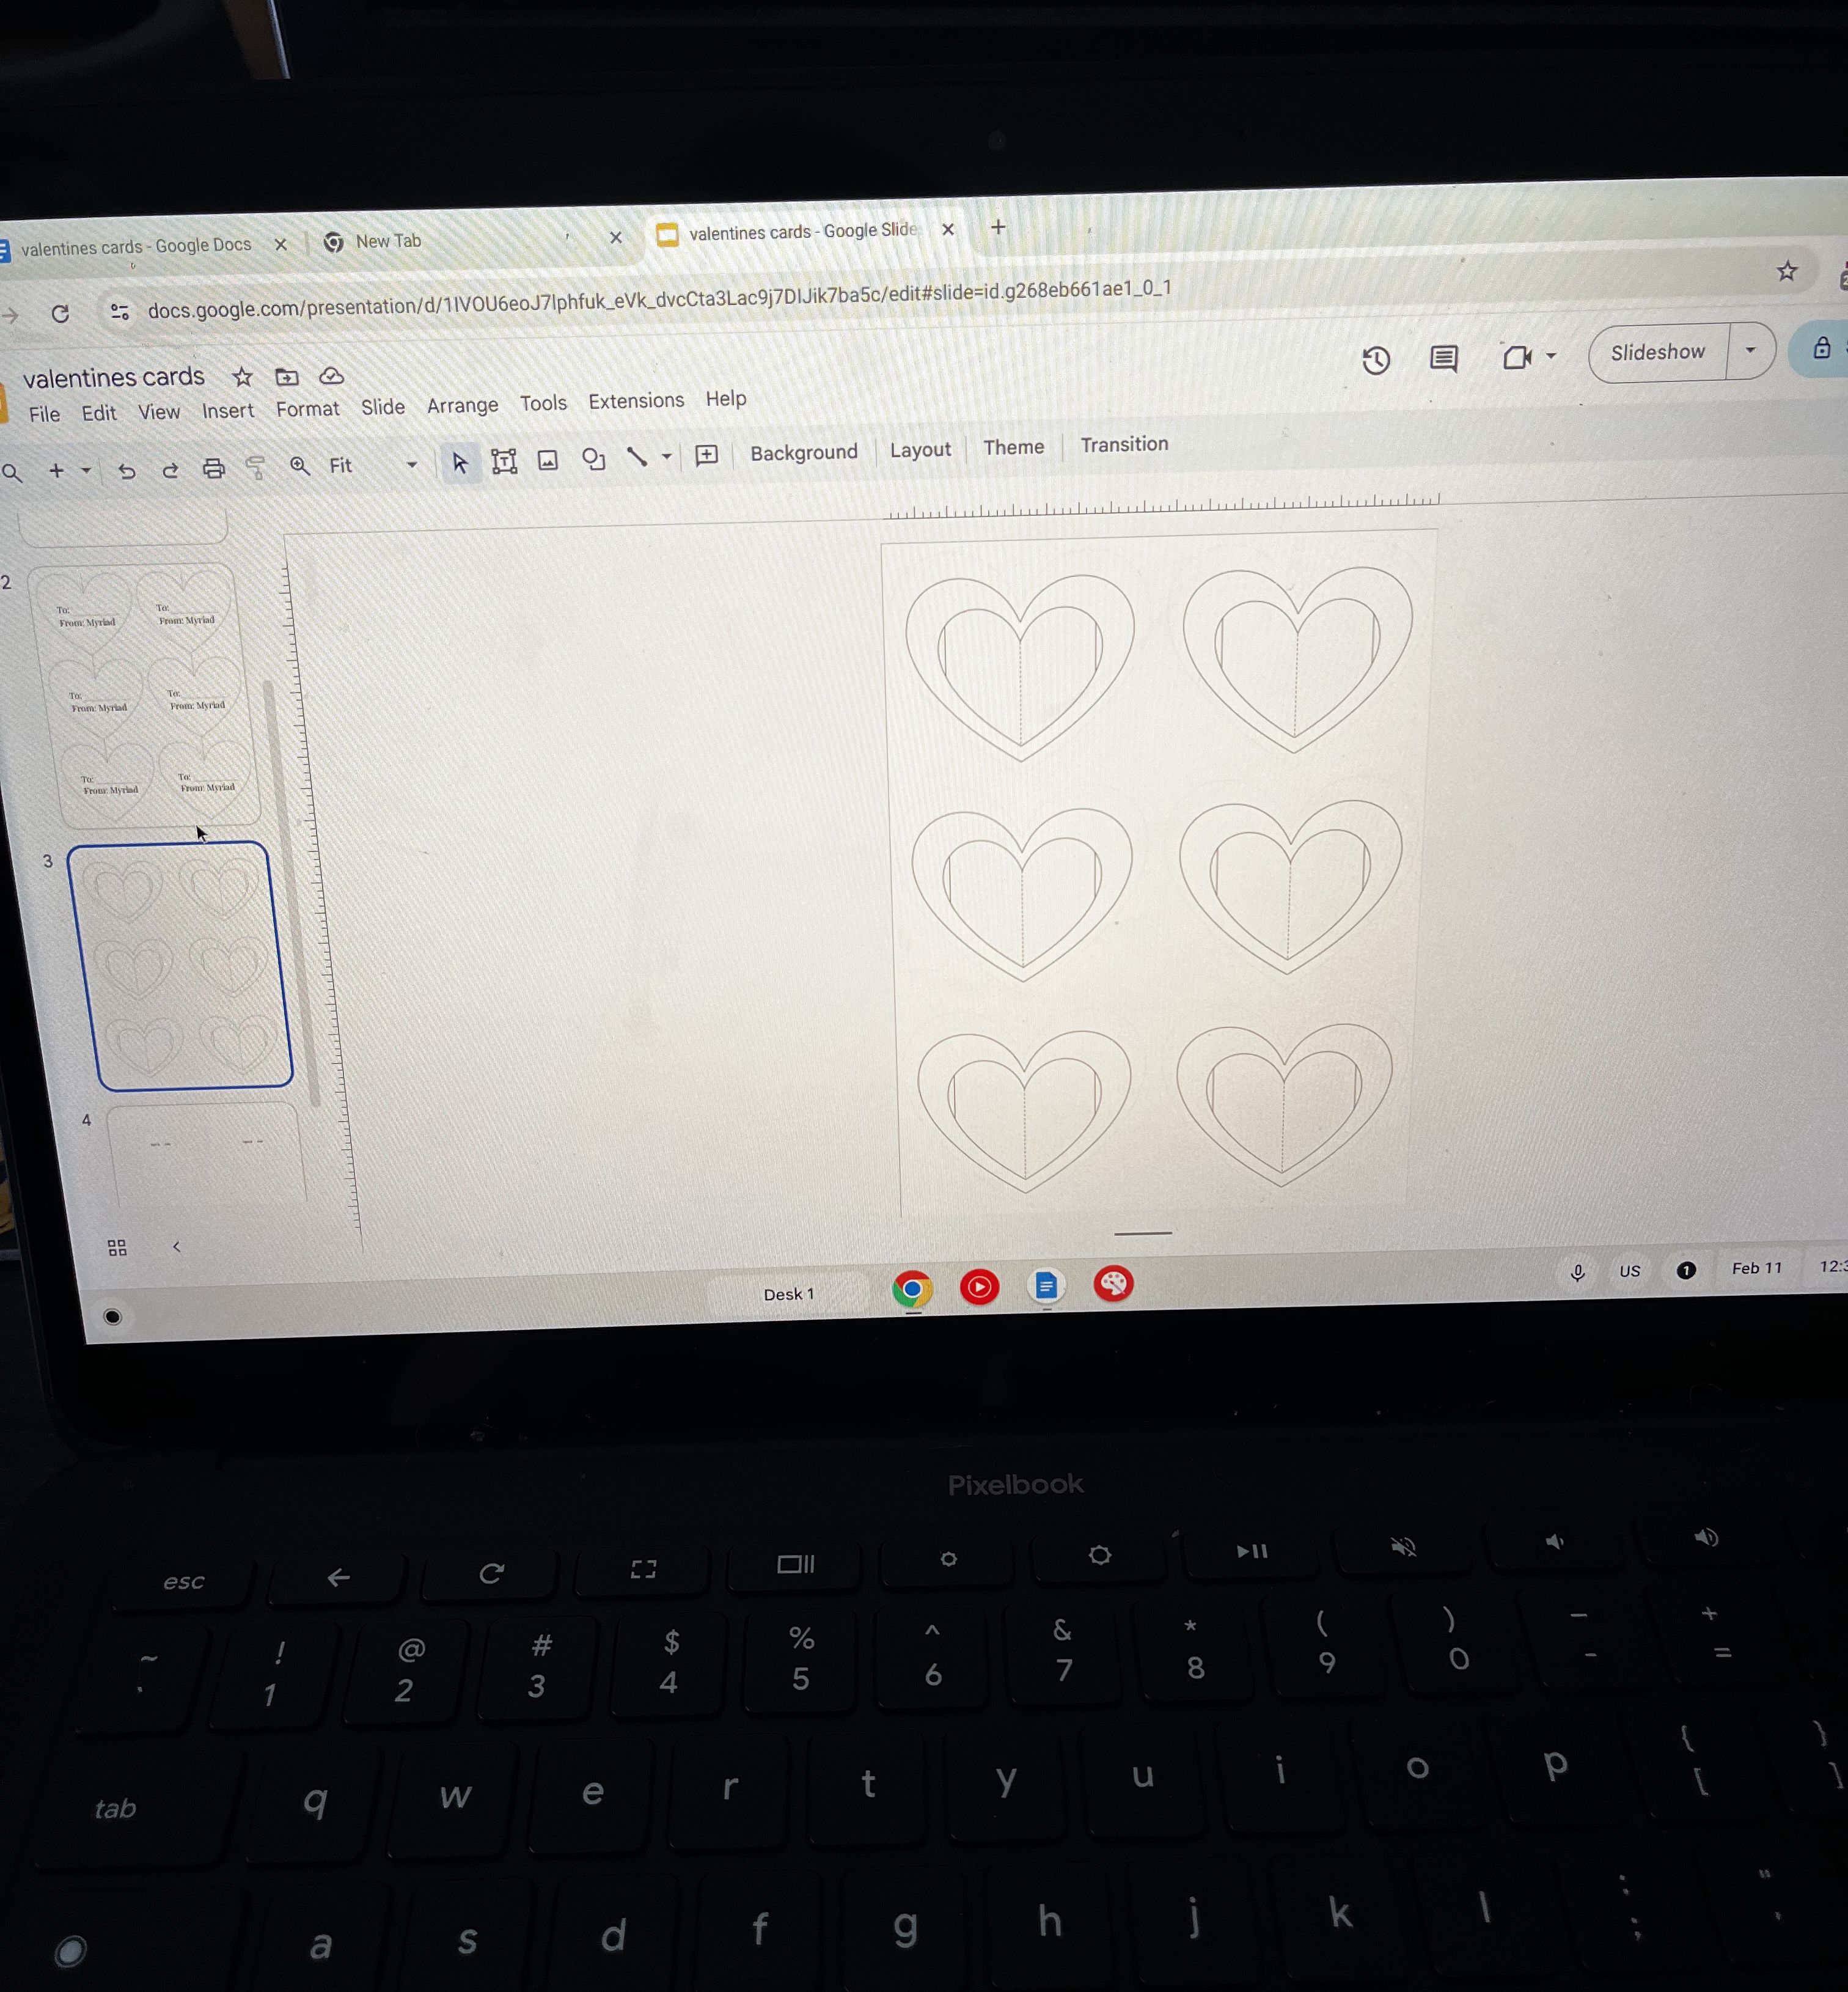
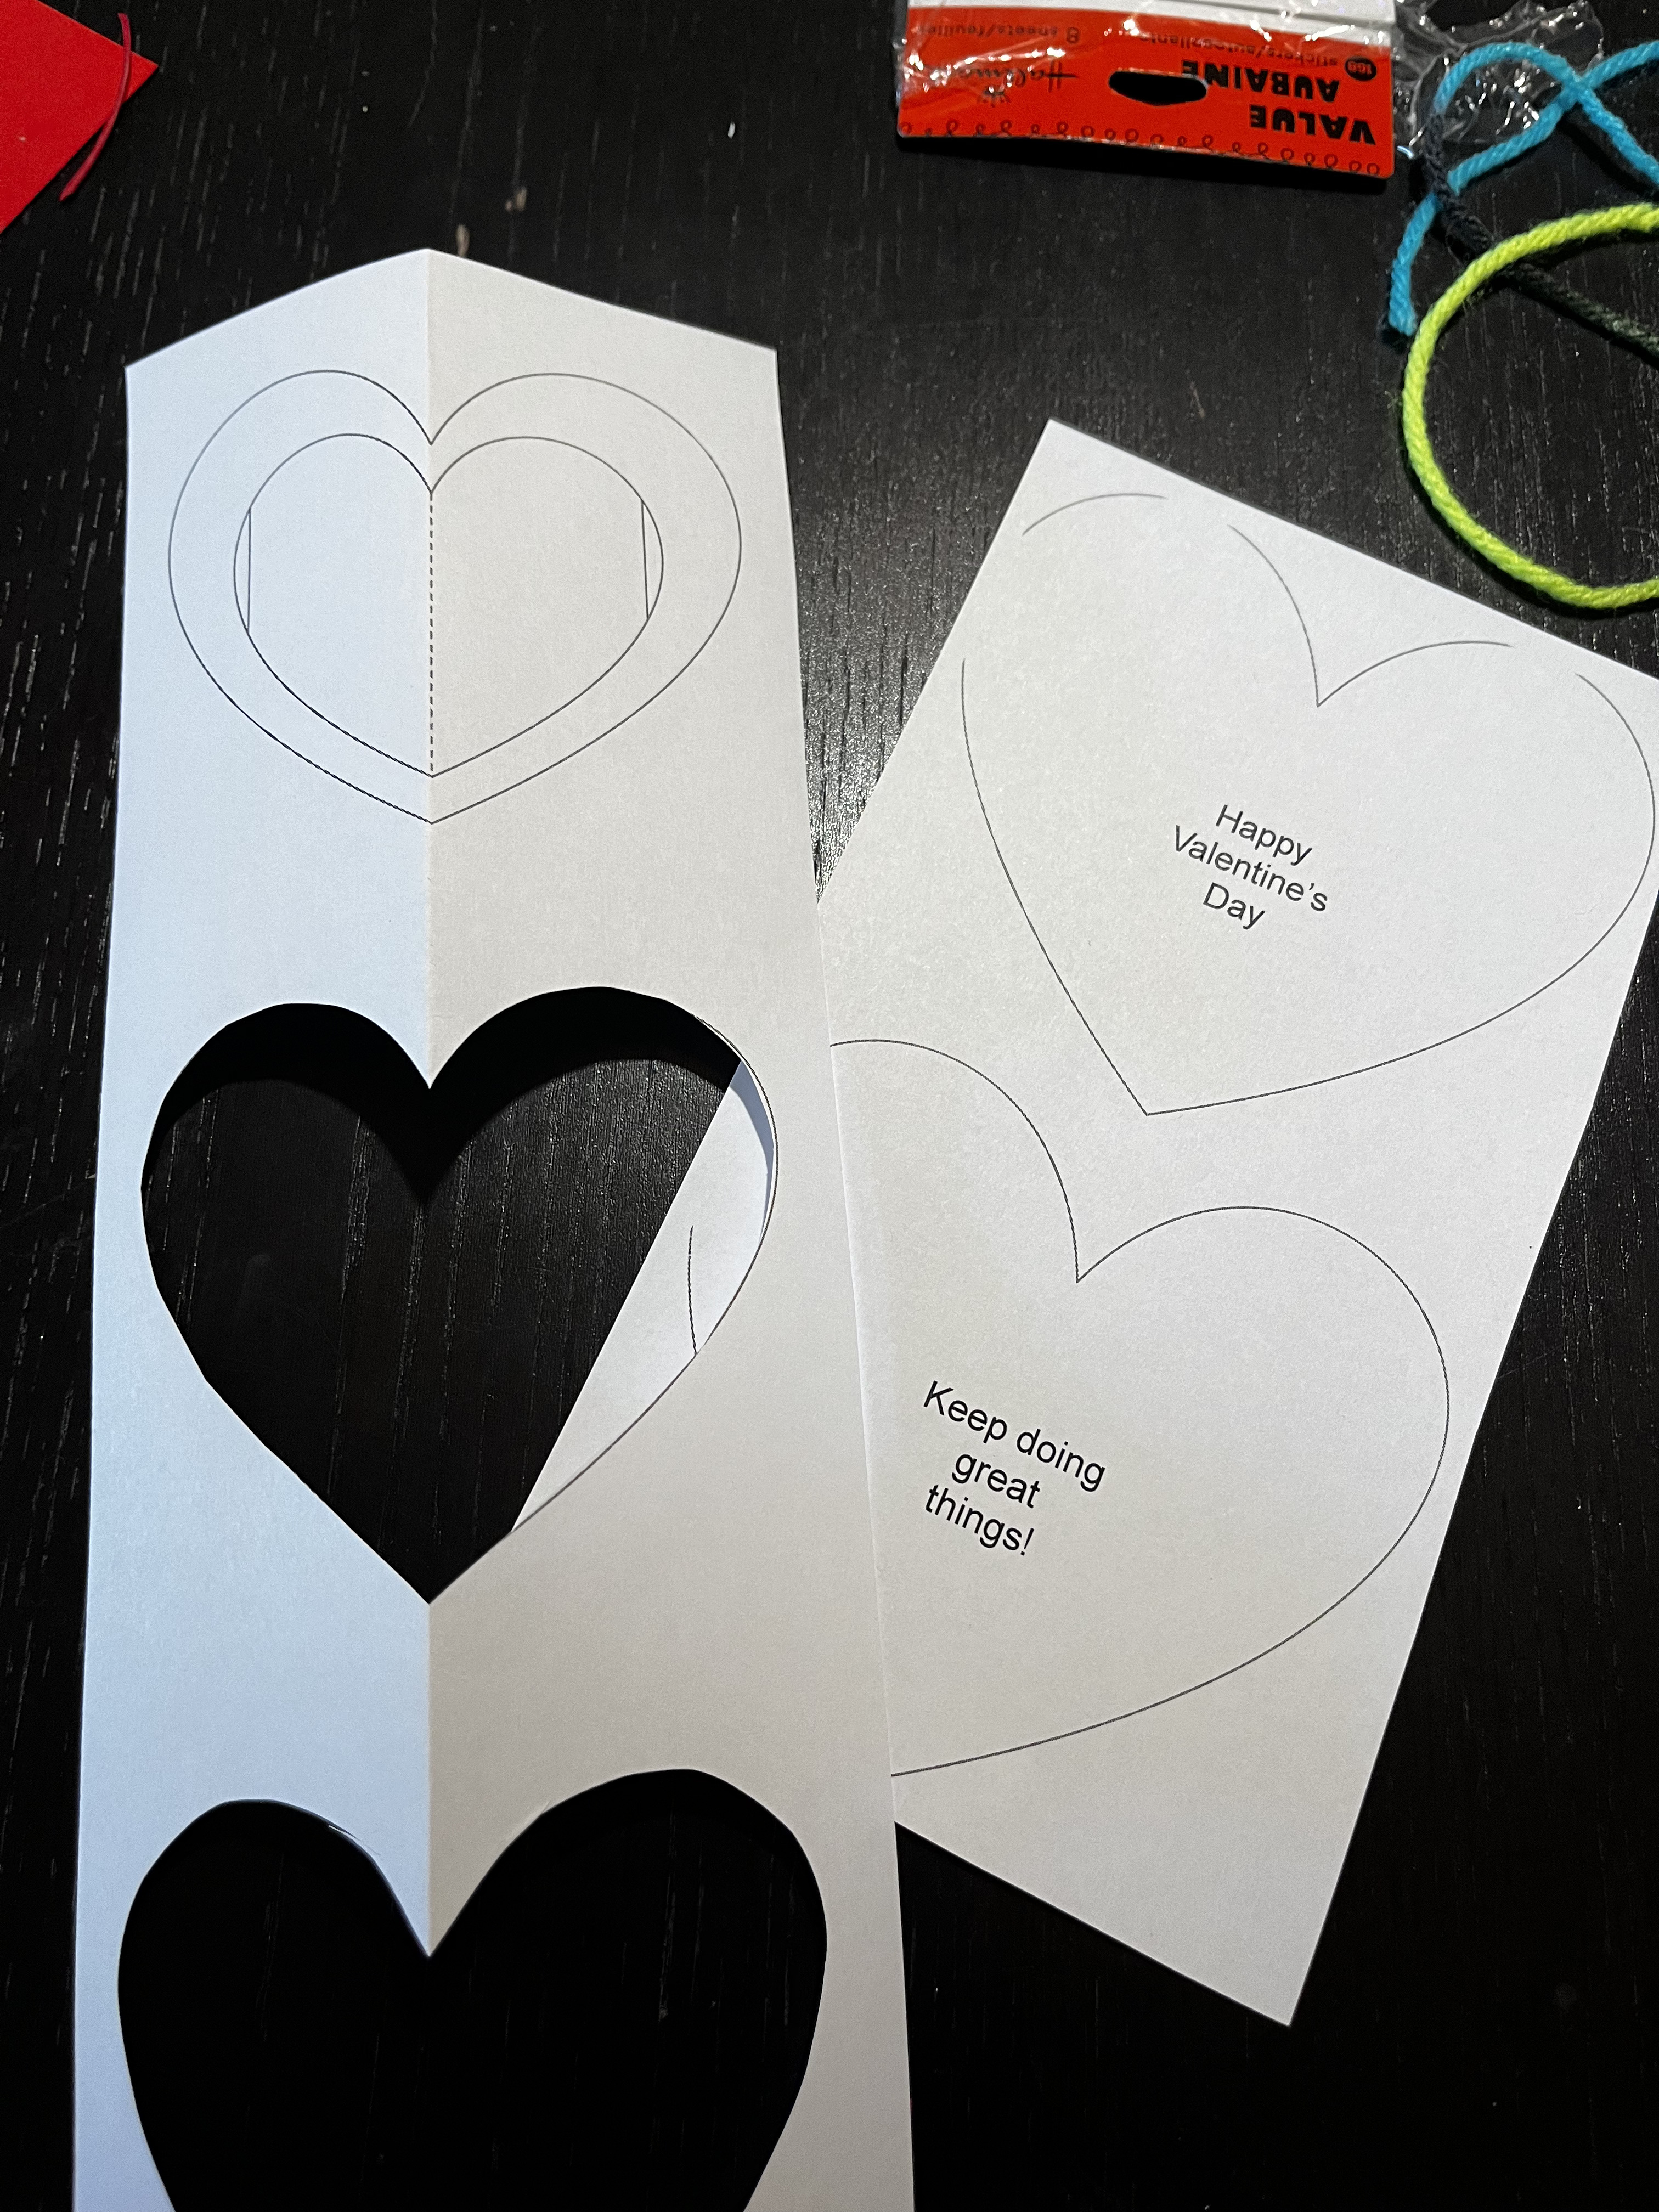
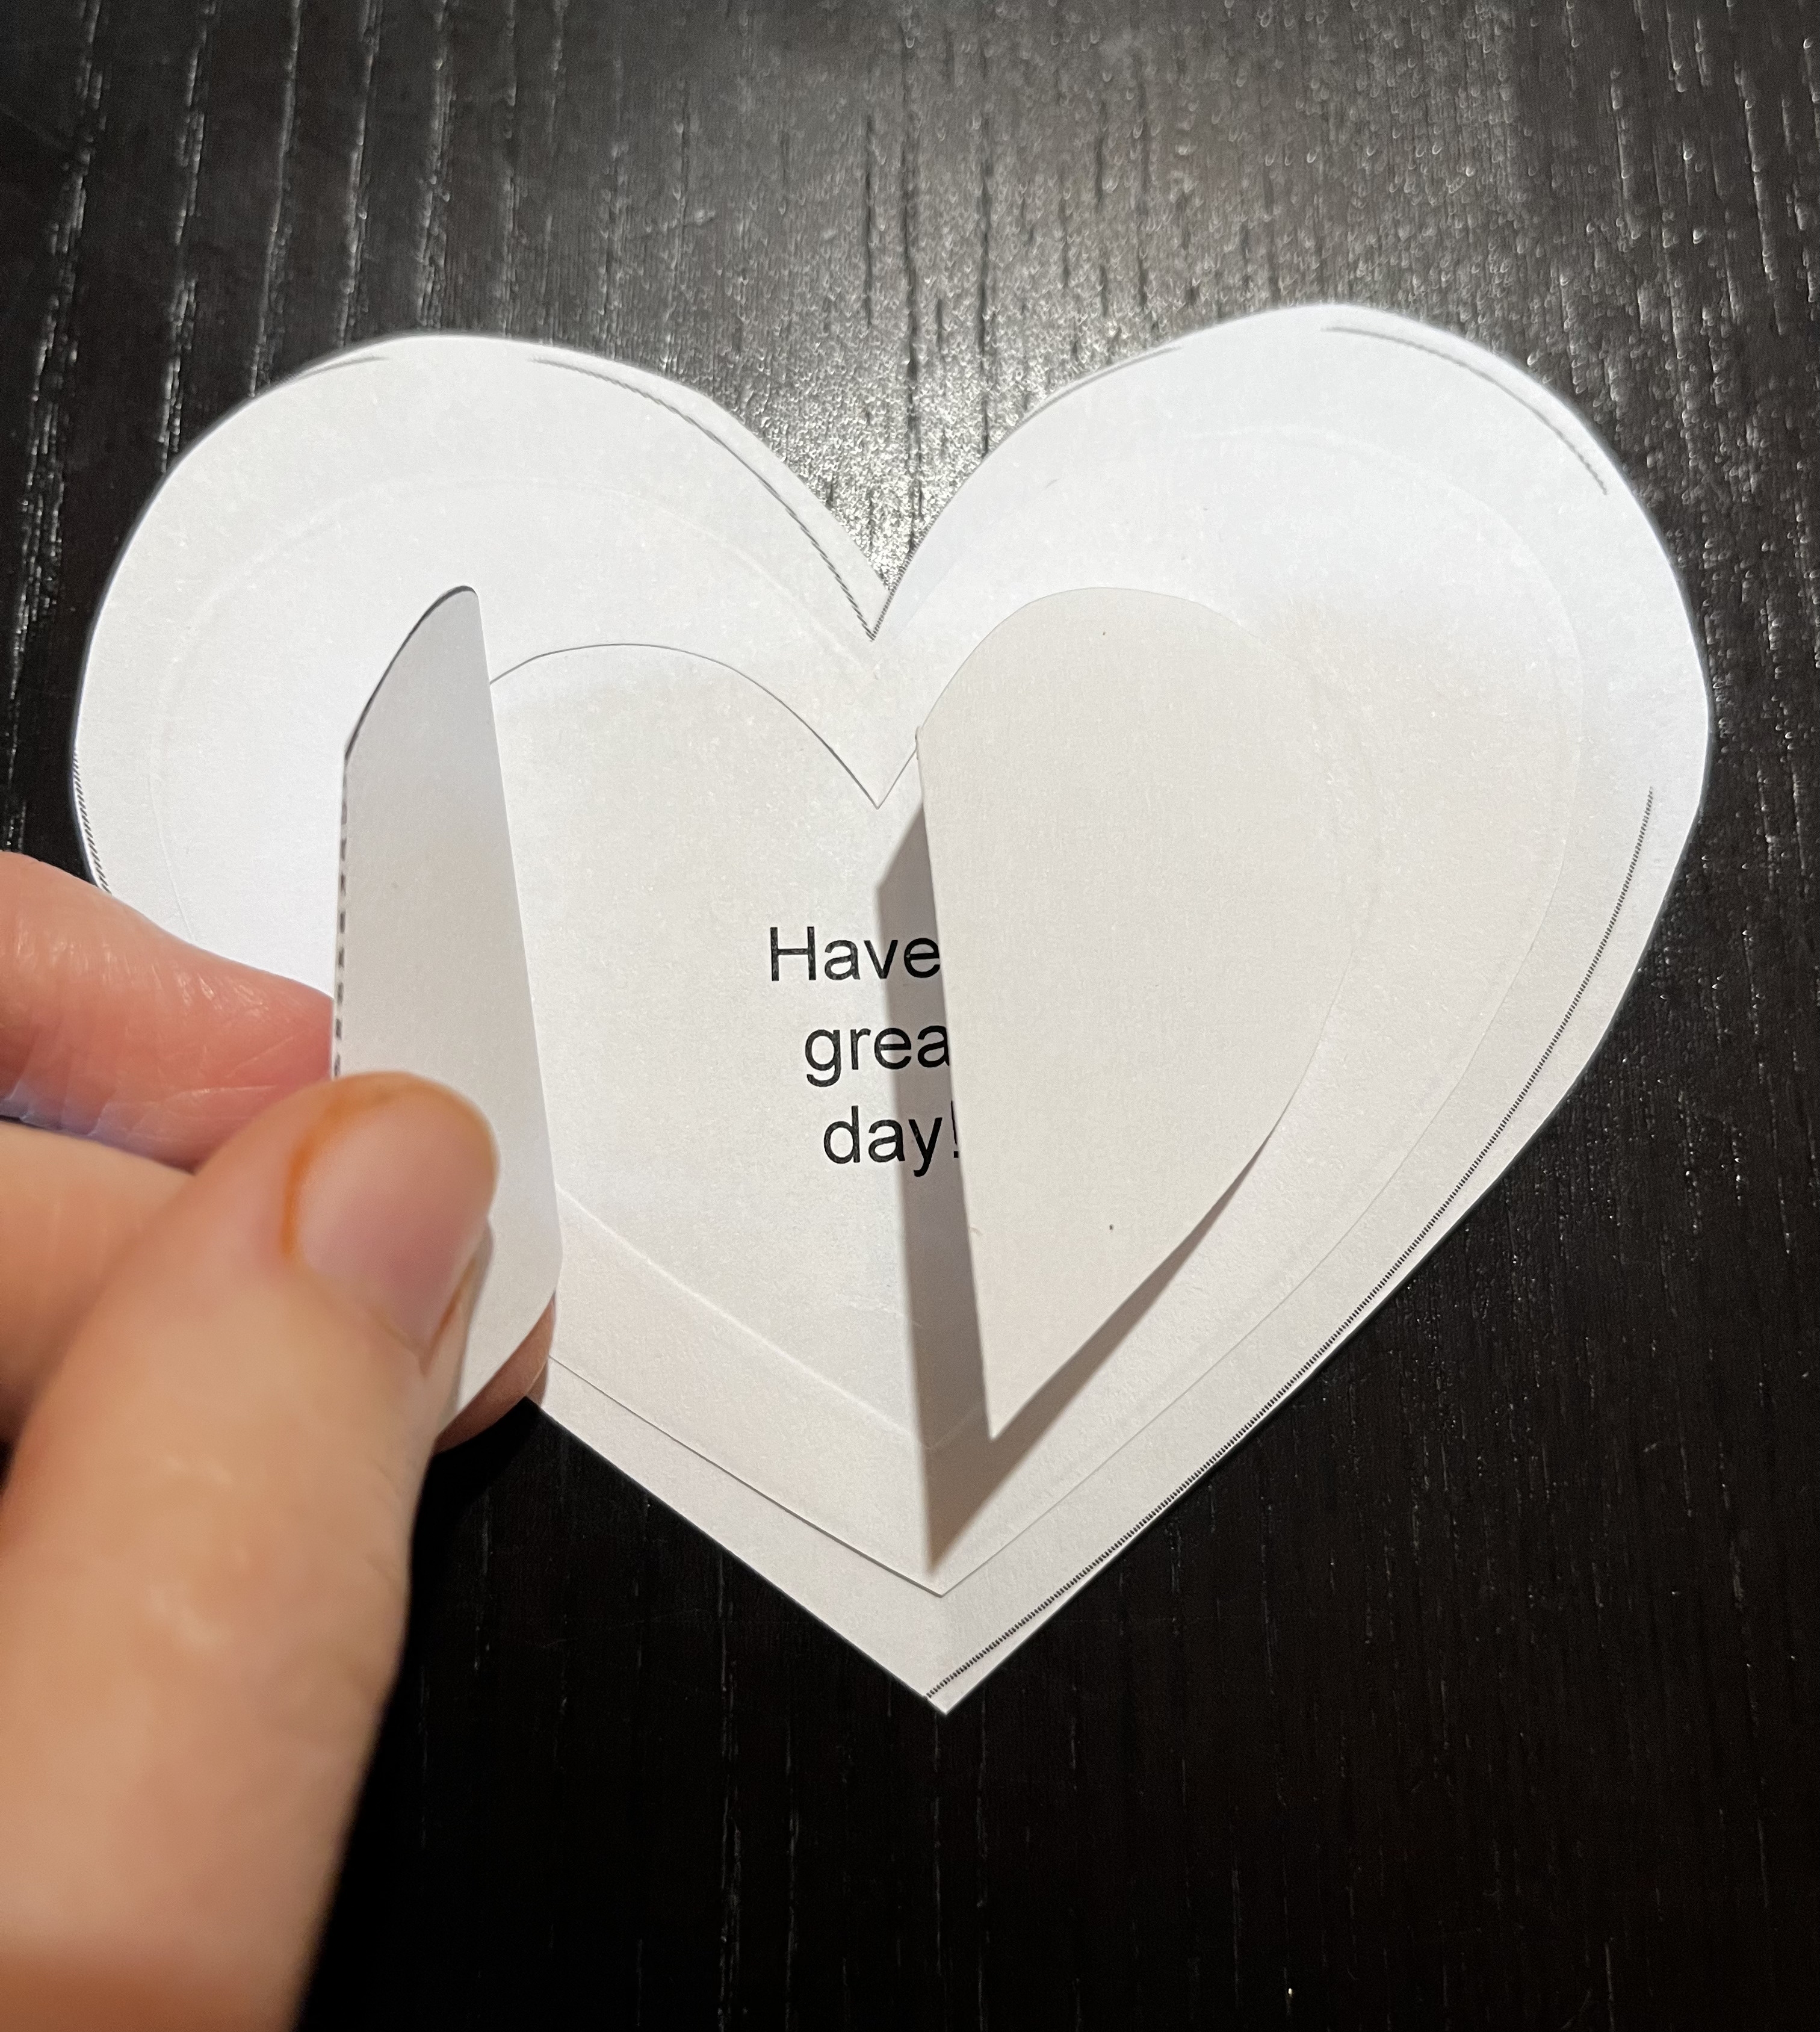
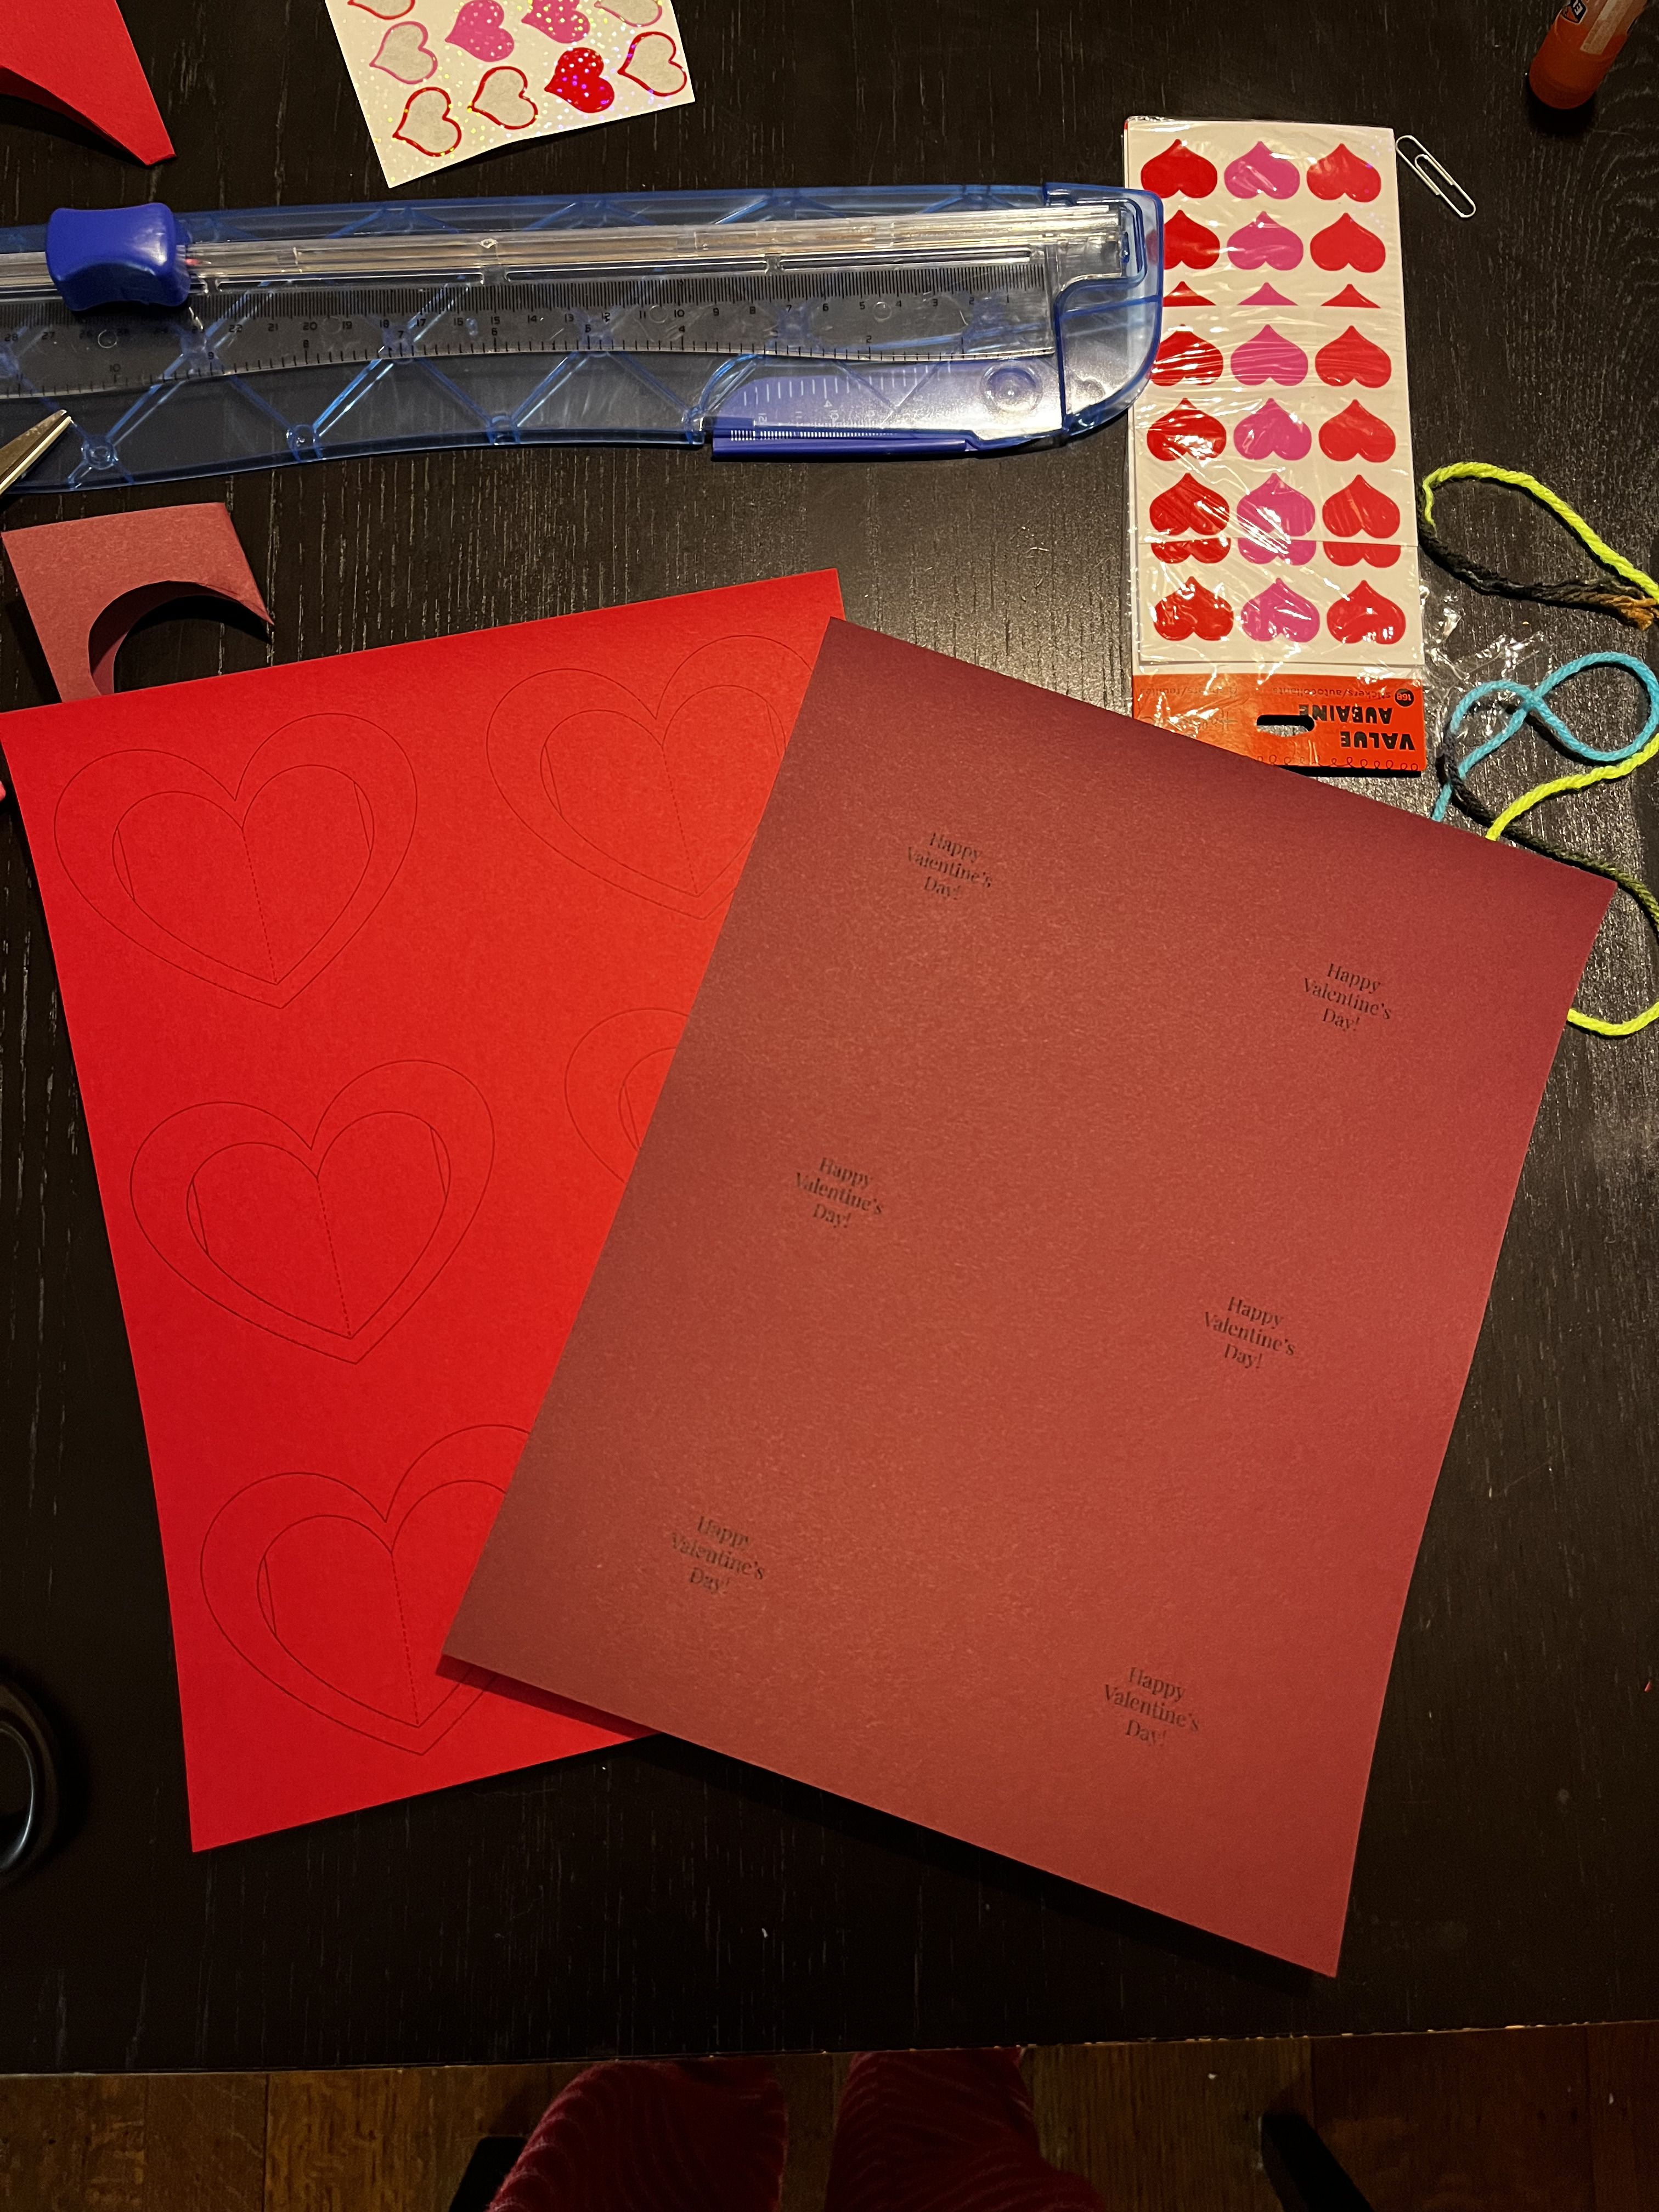
I made 4 letter-paper-sized slides and set up some double-sided templates for the insides and outsides of these valentine cards. The fronts and backs aren’t perfectly aligned, but after an iteration, we found a way to only print the outlines on the sides we really needed them on and minimize template lines in the final design.
User feedback
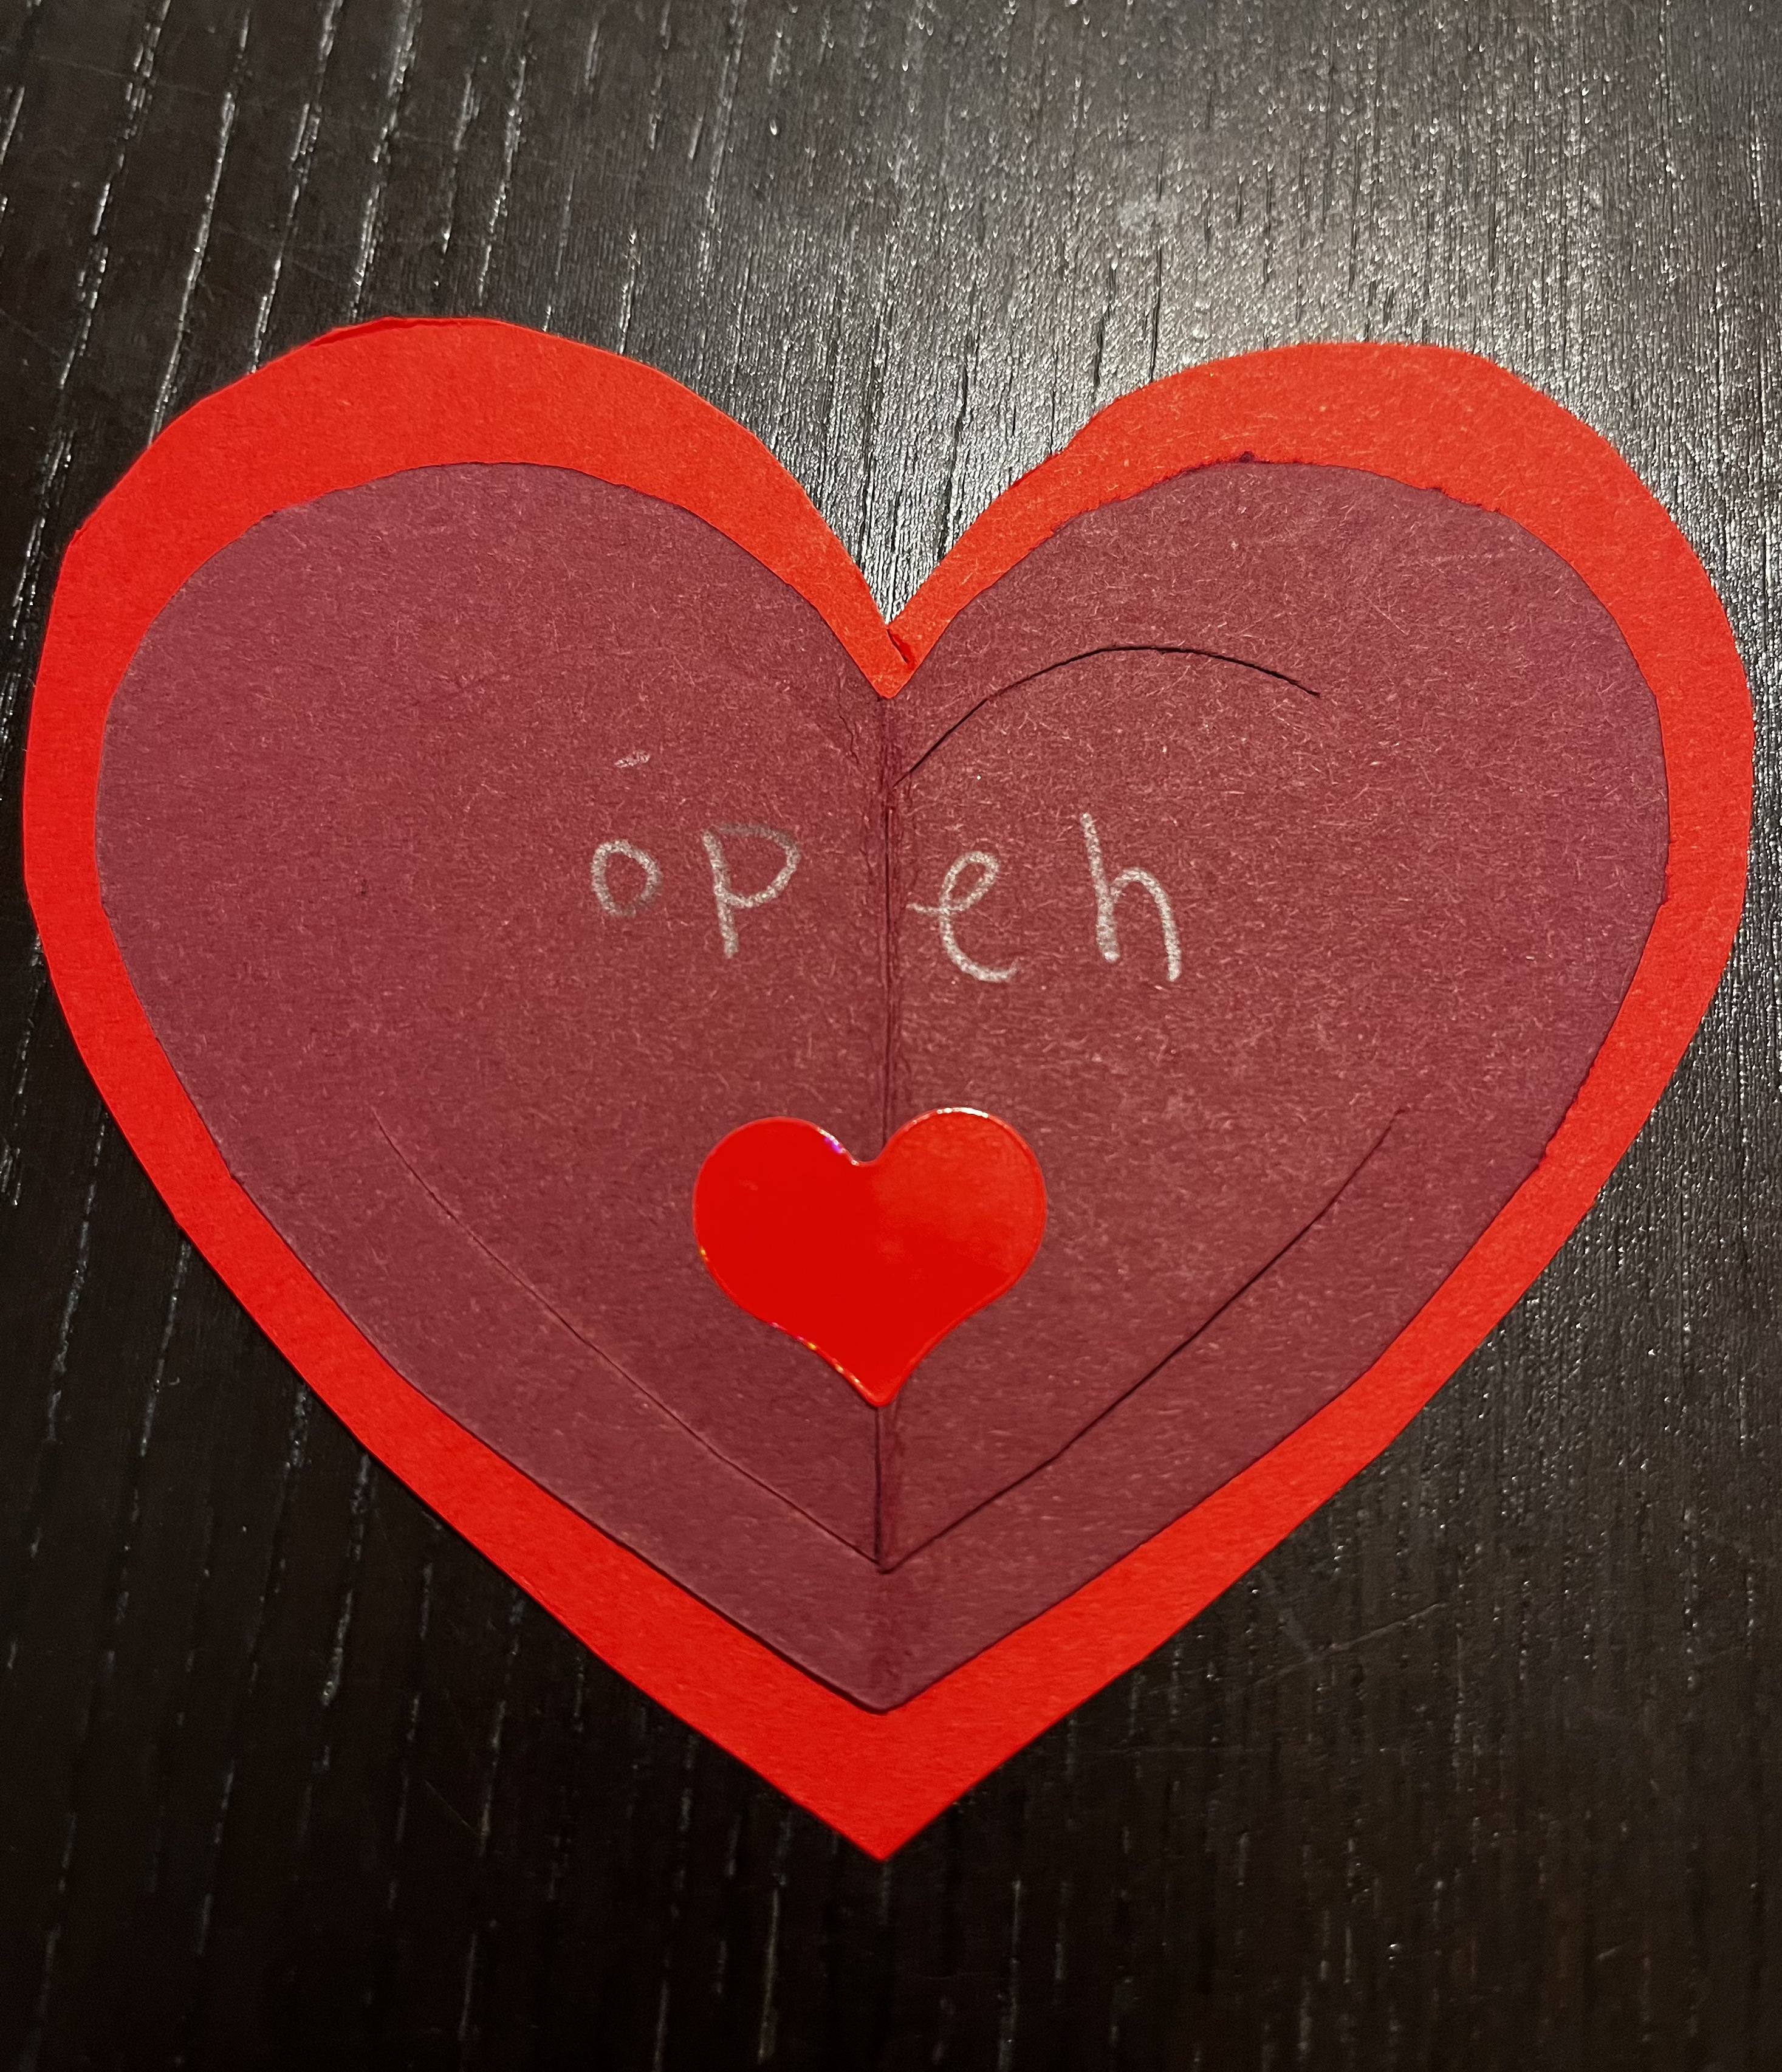
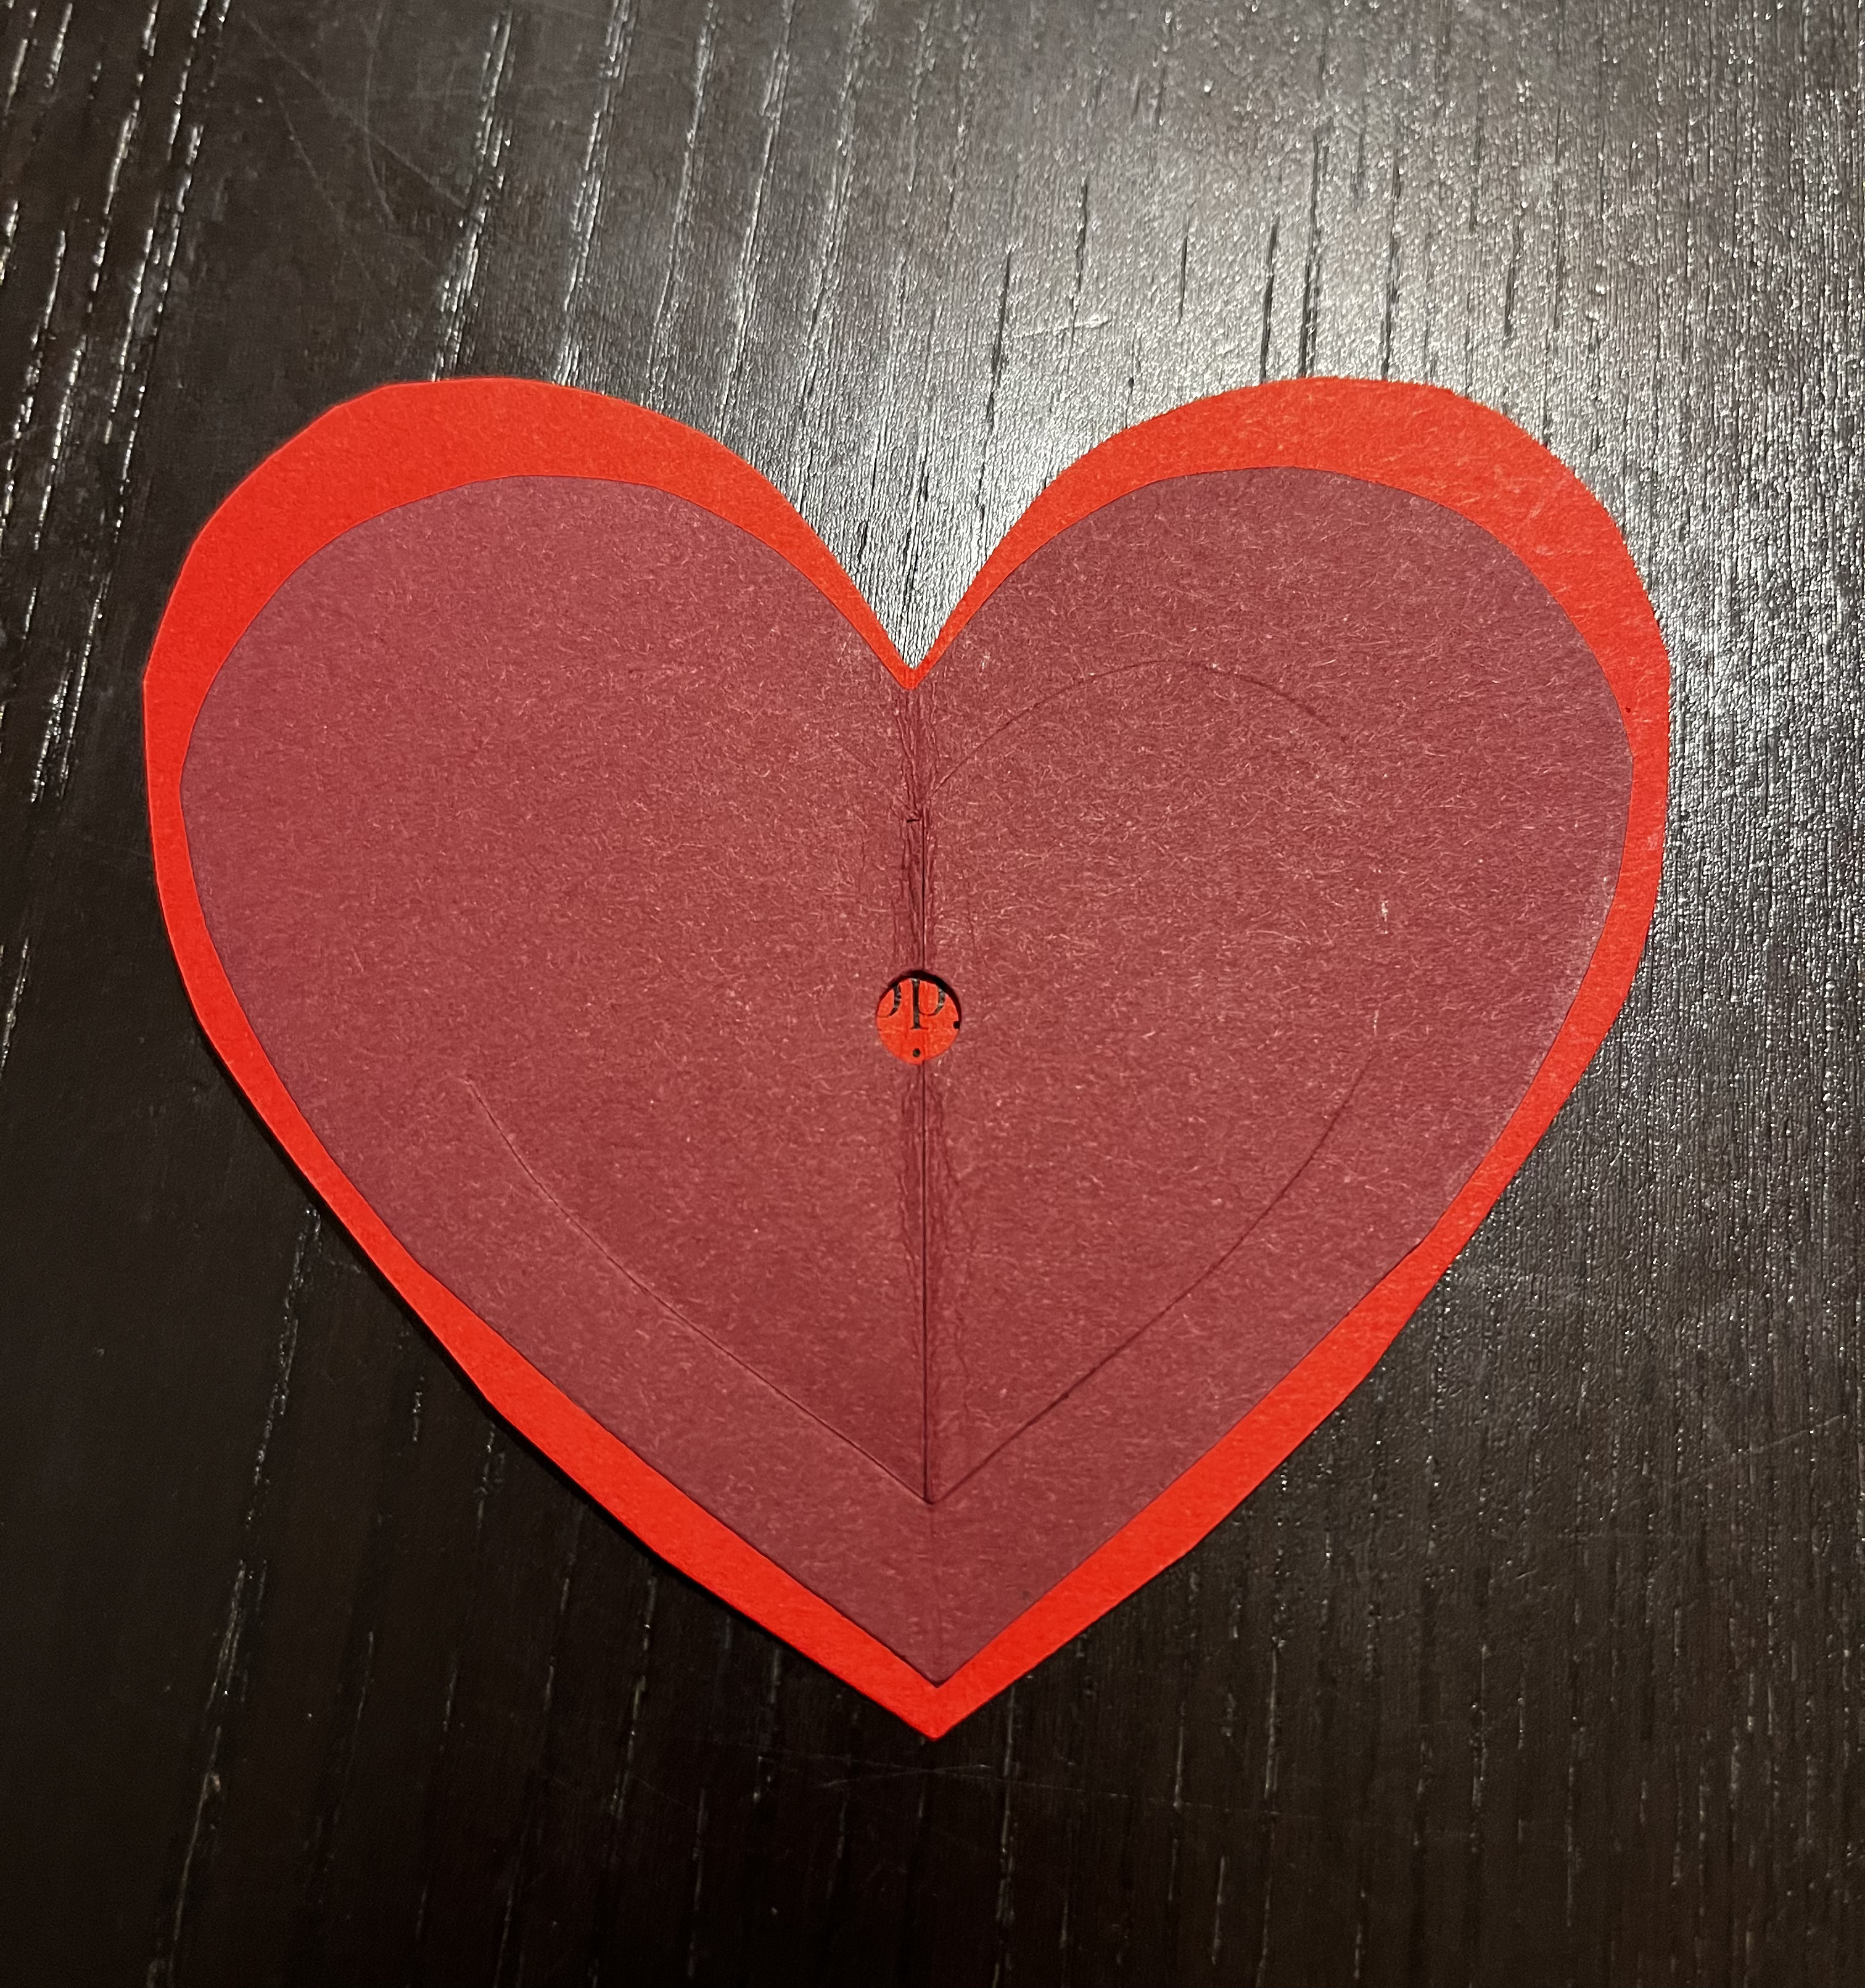
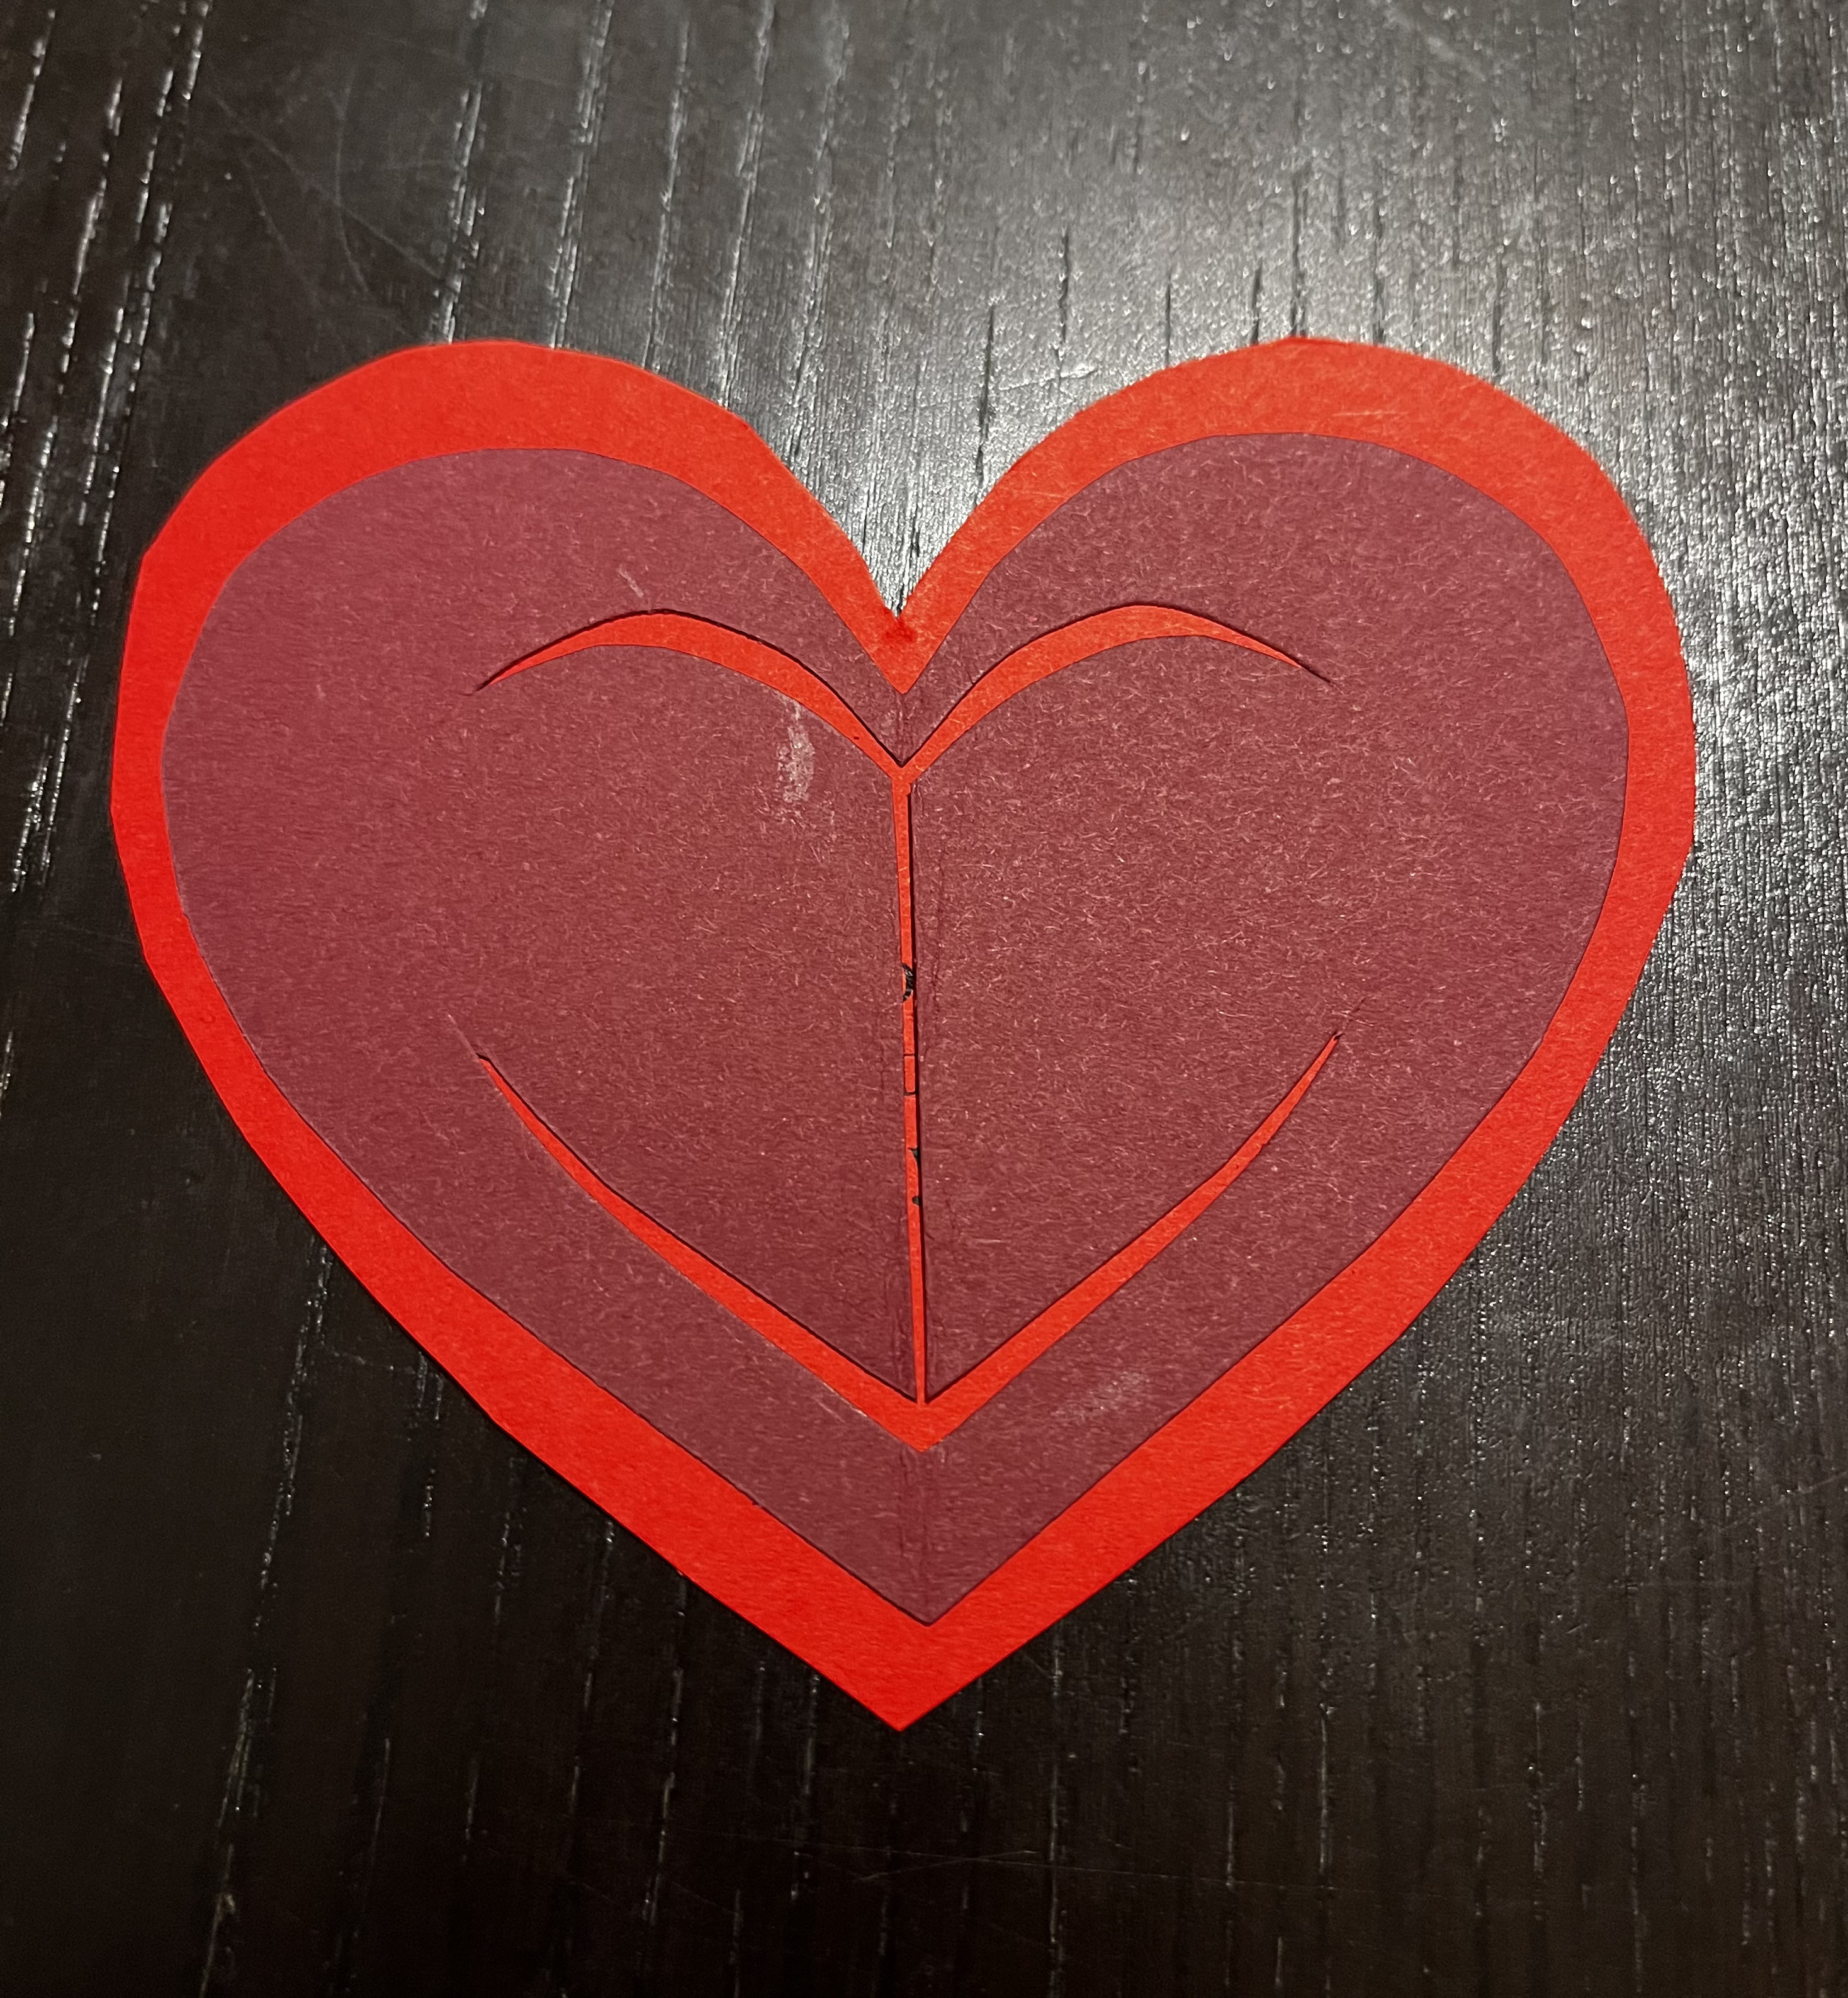
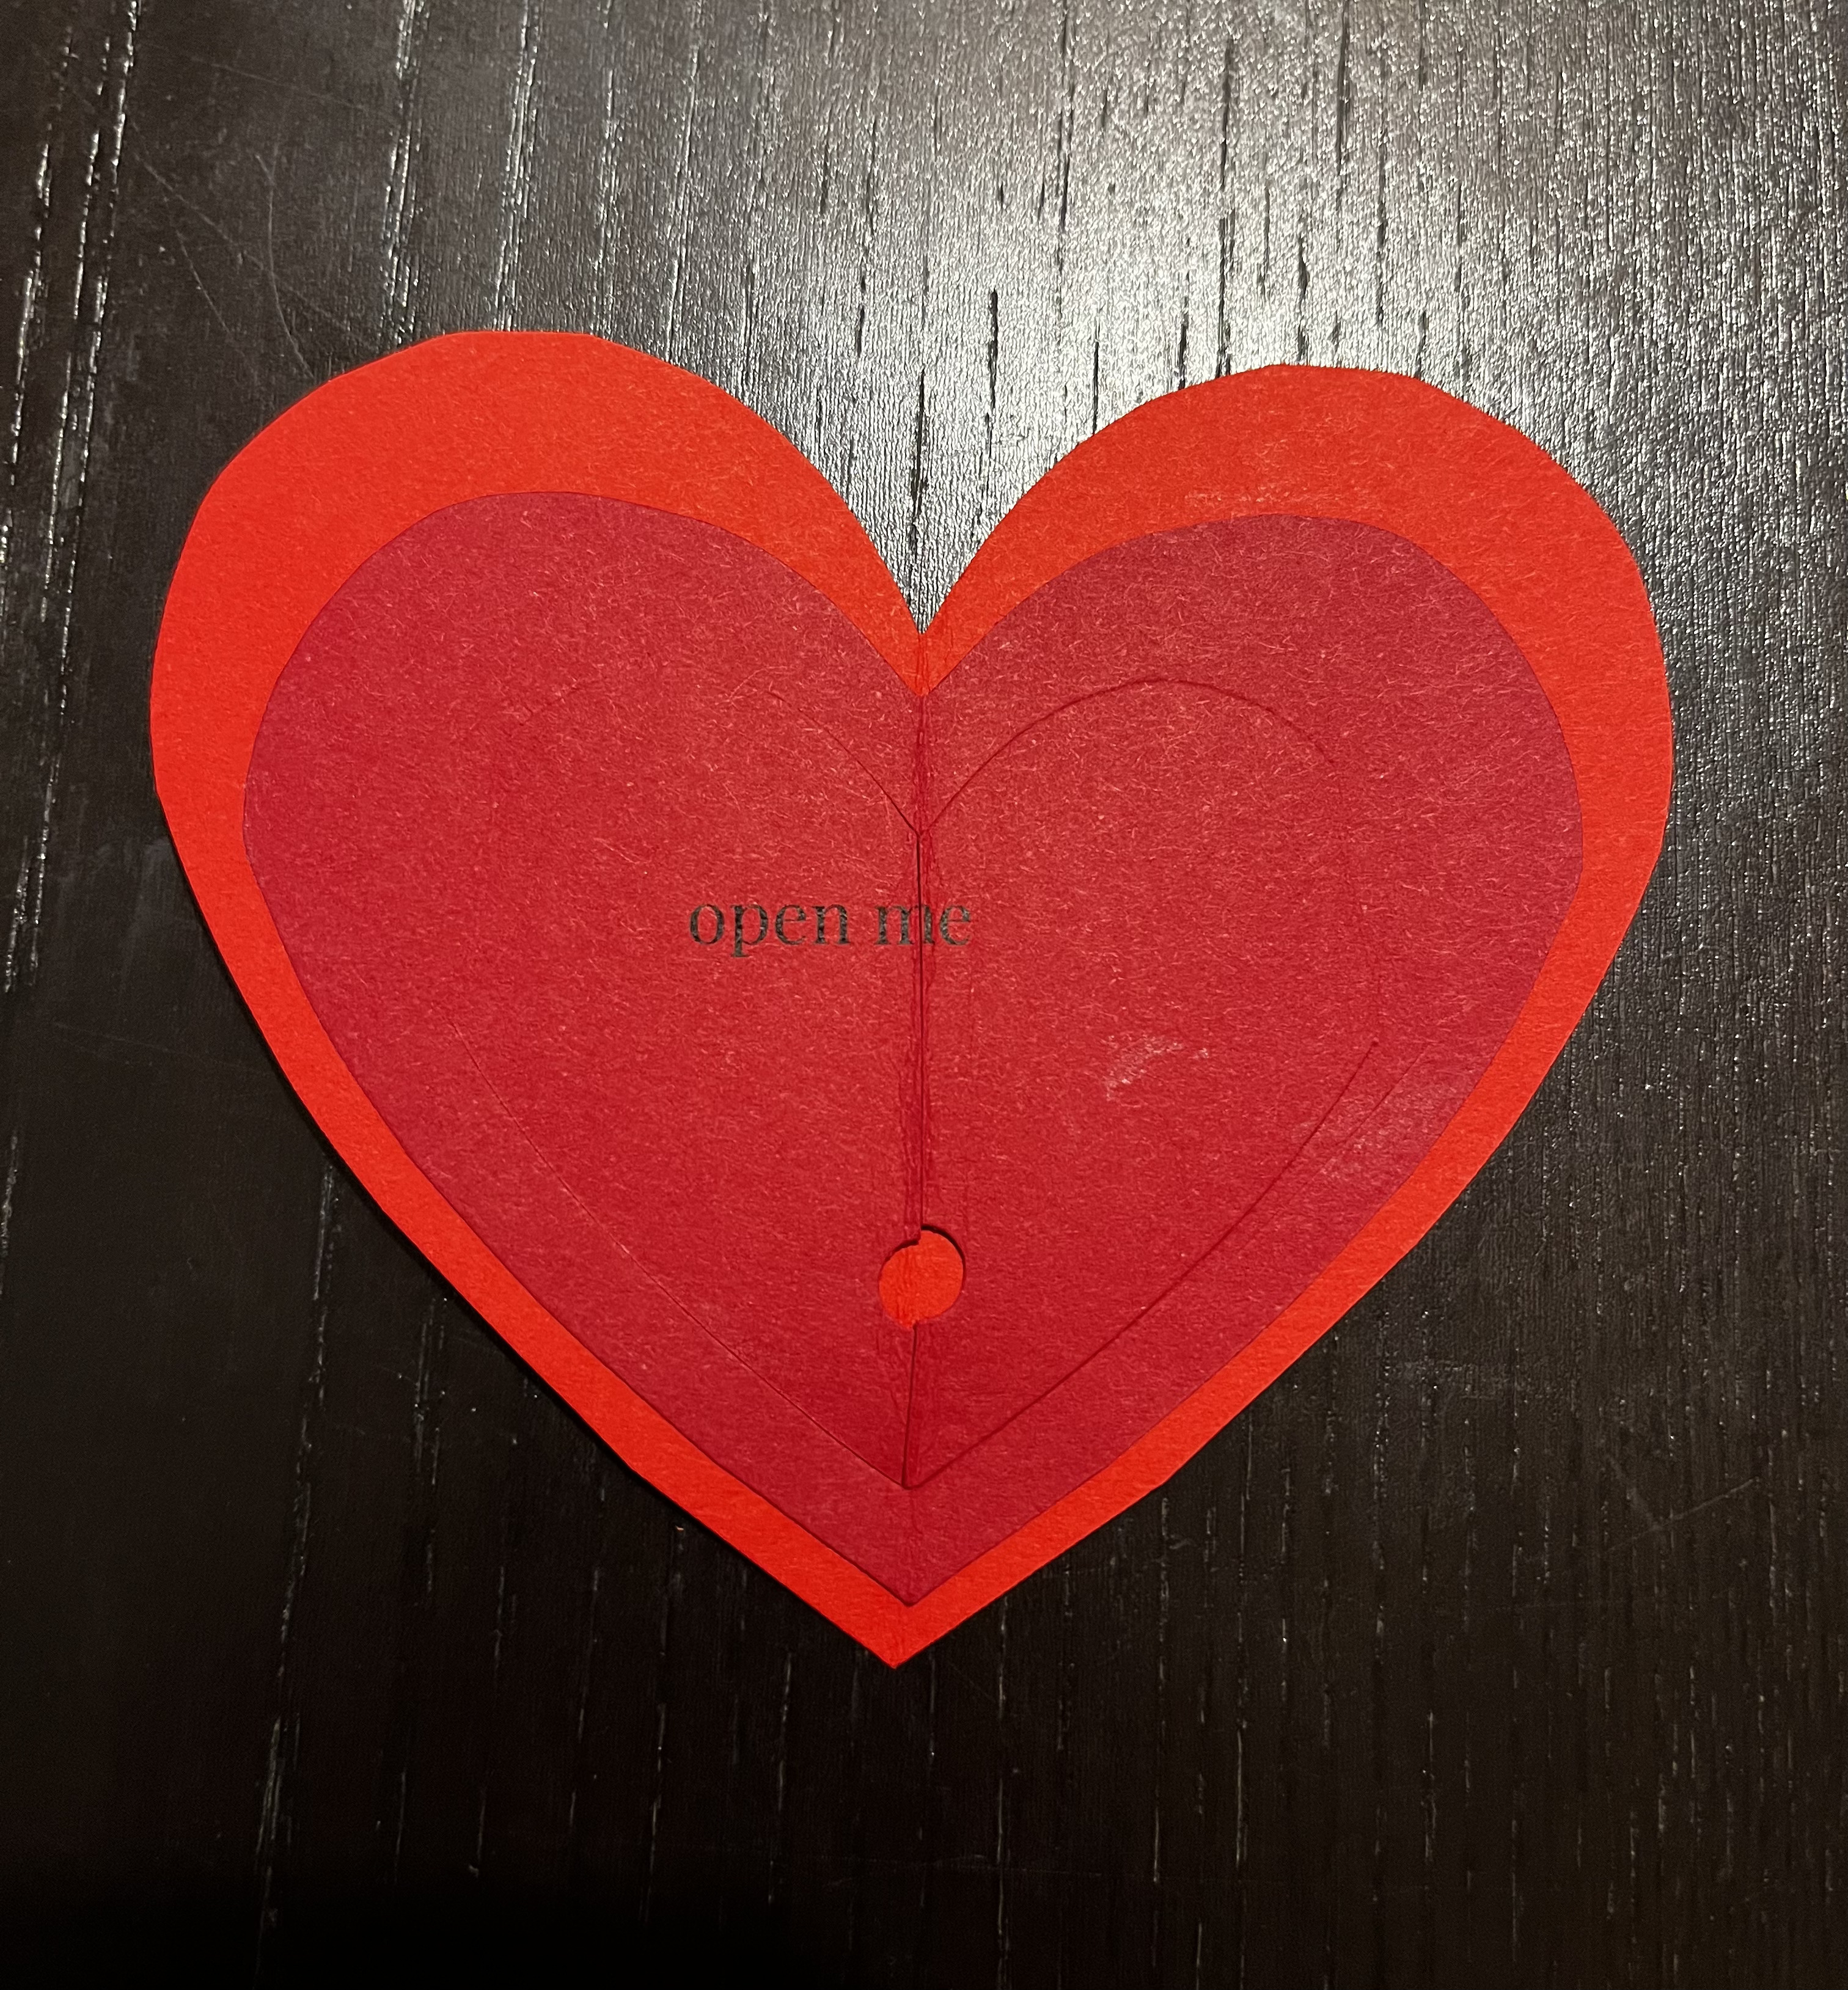
Once we had our first “final” versions of these valentines, we showed them off to my husband, who complained that they just looked like two-colored hearts and it wasn’t clear that you were supposed to open them and read a message inside. We experimented with a couple options for different affordances, from a sticker, to a hole-punched peep hole, to cutting the edges of the windows (more labor intensive). In the end, we changed to template to have written instructions (kind of Alice in Wonderland style), and cut the center opening of the inner heart in a way that let the inner layer show through a bit more.
Creating with kids
The shape of my creative life isn’t* the same as it was before parenthood. So when I can spend a whole day riding a creative wave with my kid as my collaborator (because it caught both our interests, there were aspects at everyones’ skill level, and we were in the flow together) it’s a pretty great feeling.
(*literally got interrupted right here, came back to finish this sentence two days later)
